
Sunny Sundays make the best days for pancakes and even more the better when you have freshly made blueberry compote and lemon curd to dress them with. With my craving for pancakes and the notion that Pancake Day is crepe-ing (sorry!) up on us, I remembered I had promised to share this recipe…then I remembered I made a whole podcast episode about pancakes!
For a full breakdown of the food history of pancakes and pancake food art go to Smy Goodness Podcast Ep5 - Pancakes and Creativity with Aimee Furnival of Another Studio. There is art from Rembrandt, Hieronymus Francken the Younger, a 1585 recipe for pancakes from The Good Huswifes Jewell and a breakdown of the evolution of the Mammy iconography behind Aunt Jemima. Click link above to see all the images or listen while you make your own pancakes here:
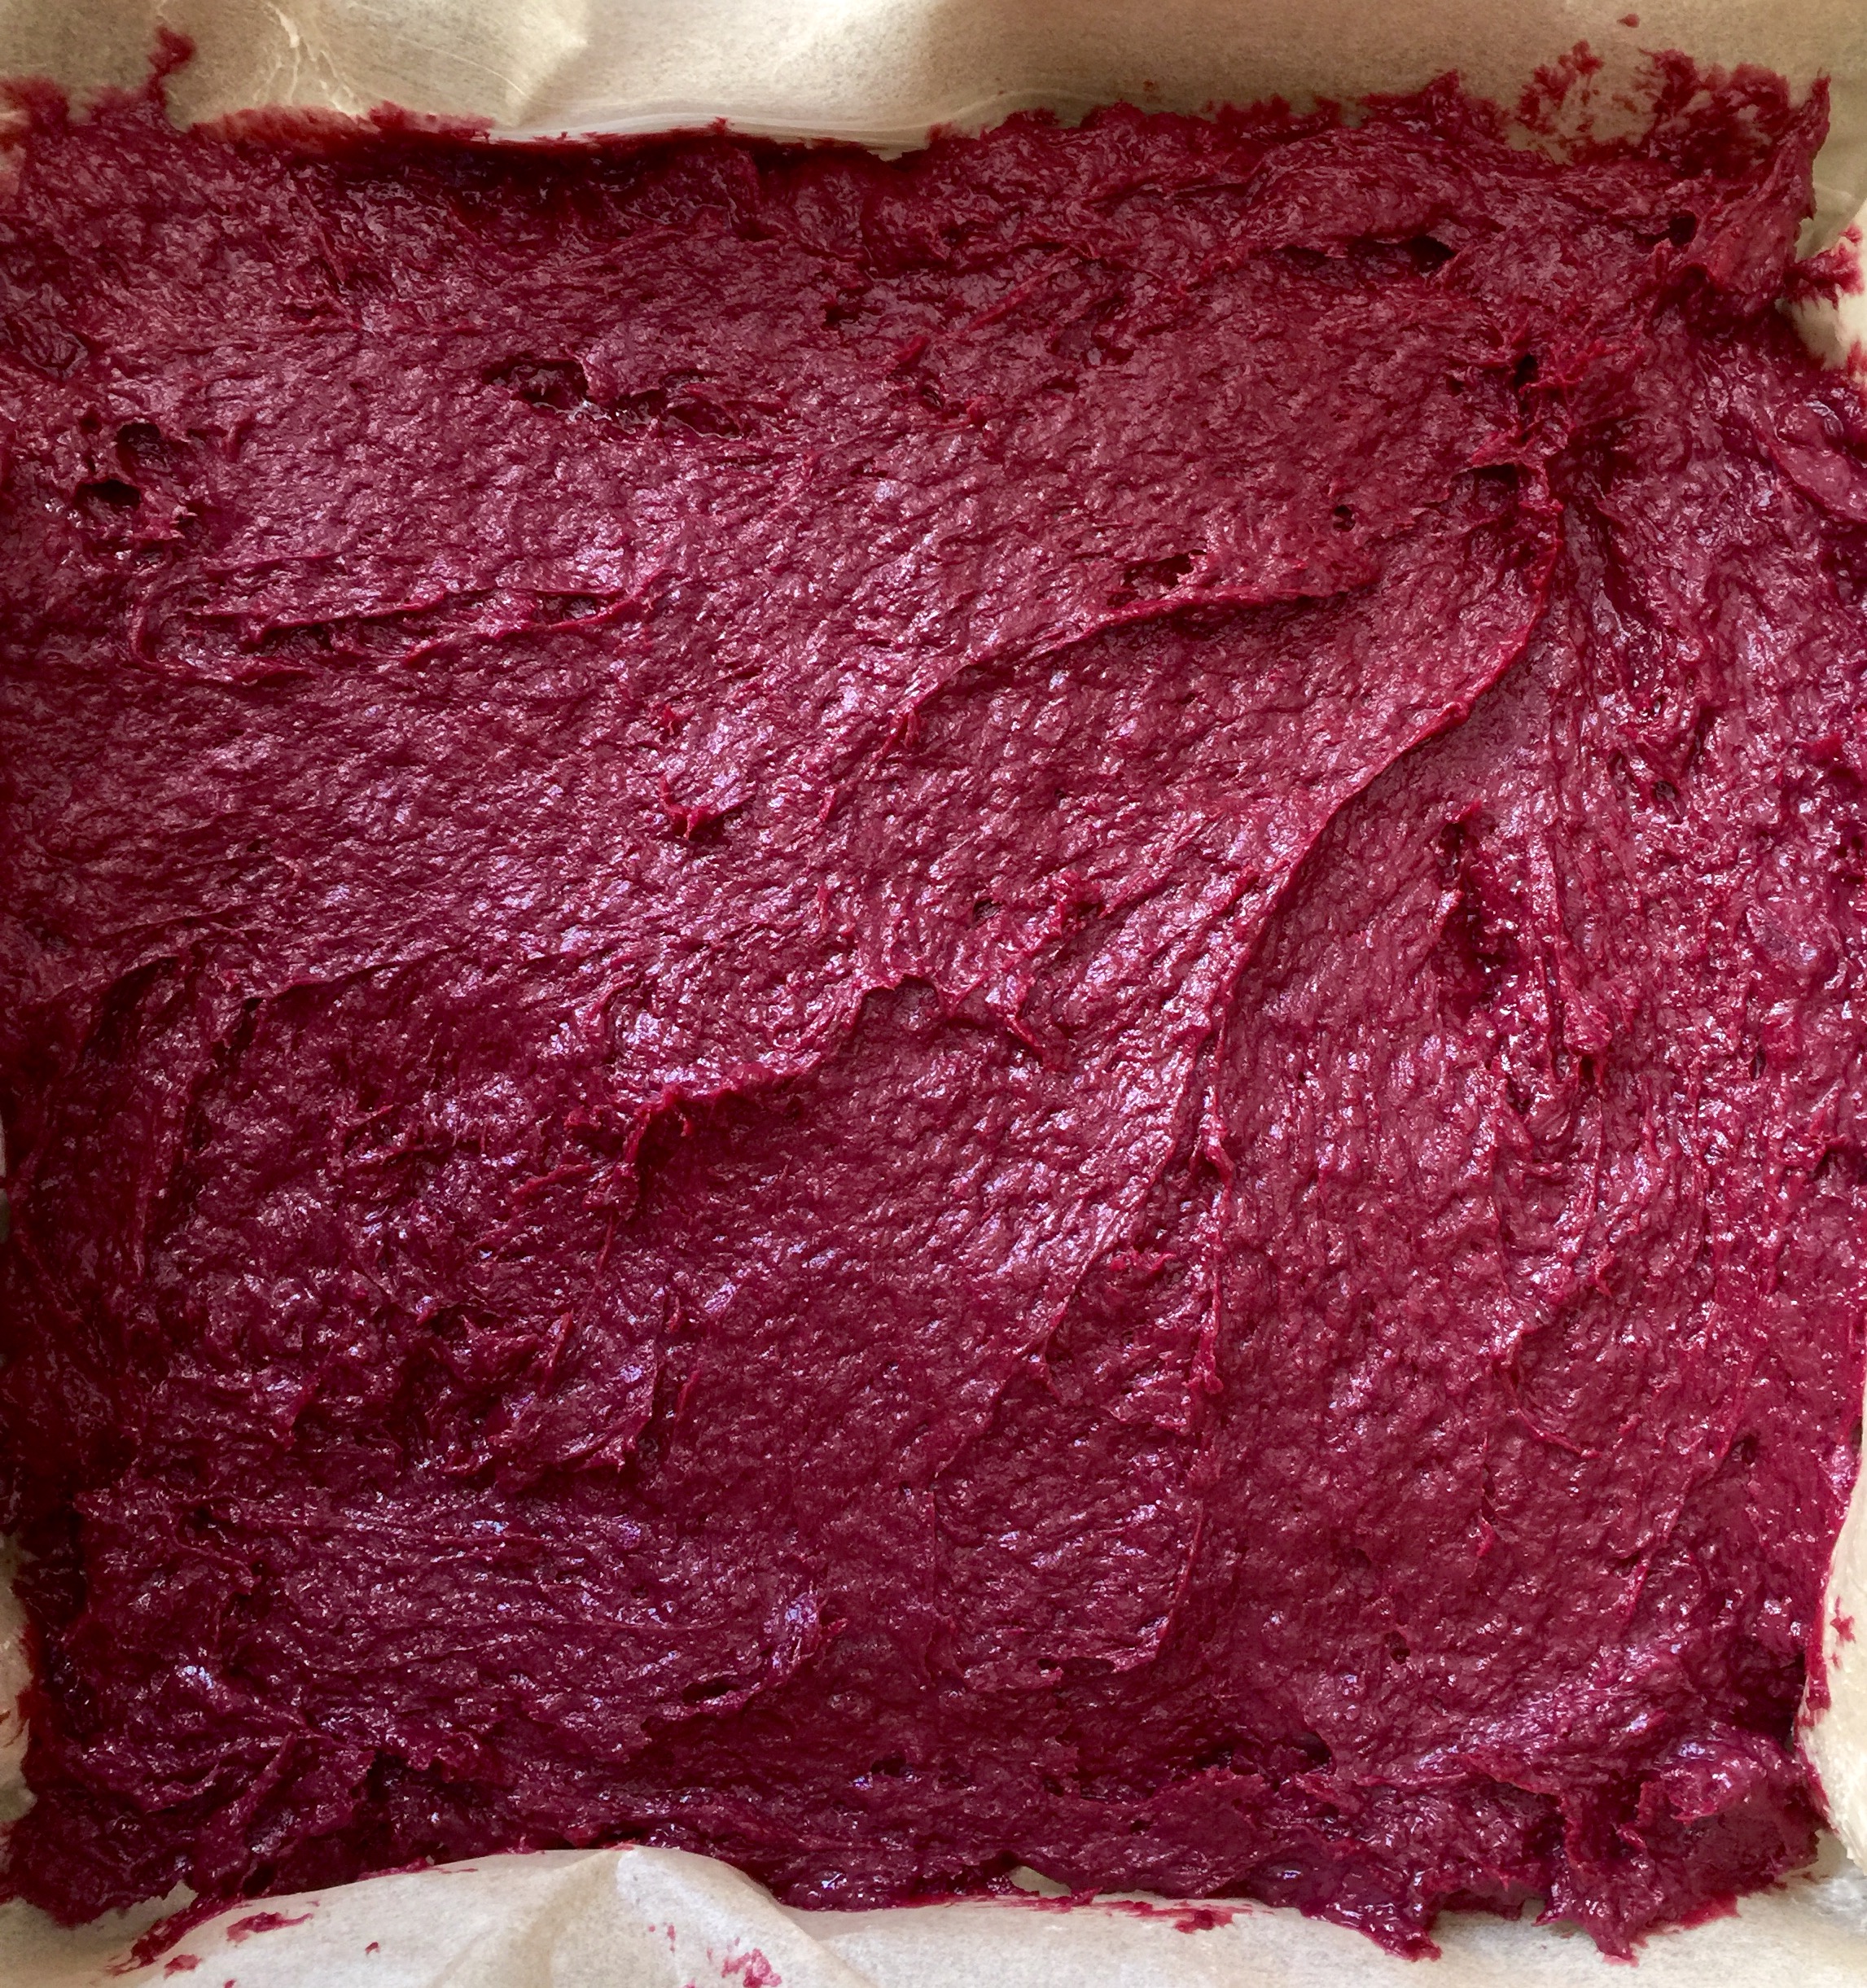
Why add charcoal you might ask…well the charcoal is because I like the texture and benefits of occasionally adding edible activated charcoal to mostly cakes, canapes cases and biscuits. Charcoal can act as a detoxifier, is good for kidney health, gastrointestinal health, has been used as a water filterer for always and I add it to my daily facial cleanser that I make along with bentonite clay, which I also occasionally add to recipes. I am not a doctor or nutritionist so you should do your own research to see if it is something you are interested in ingesting or using, sharing with your family and friends and if you are taking medicines you should always check with your doctor first.
Now for the recipe! The recipe works just fine with or without the charcoal and I like the contrast of the pancakes made with and without adding charcoal to the batter. My pancake recipe is one I have been using for a very long time that is kind of a hybrid of Delia Smith’s pancake recipe and Linda McCartney’s pancake recipe with the offshoot being almost in between a crepe and an American style pancake. It’s not as eggy as a crepe and it’s not as fluffy or thick as an American style pancake. It’s got texture, density and a buttery goodwill to soak up whatever fruit, preserves, syrup or savoury items that you might ever want to top it with.
Charcoal Pancakes
100g plain flour or 1 cup plain flour
150ml almond or any milk or 2/3 cup of almond or any milk
1 egg
30-50g butter (15-25g for batter, 15-25g for cooking) 0r 2-4 Tbsp of butter
1 tsp activated charcoal
pinch of salt
makes 4-5 12 cm (5inch) pancakes
simply double or treble the batch as needed

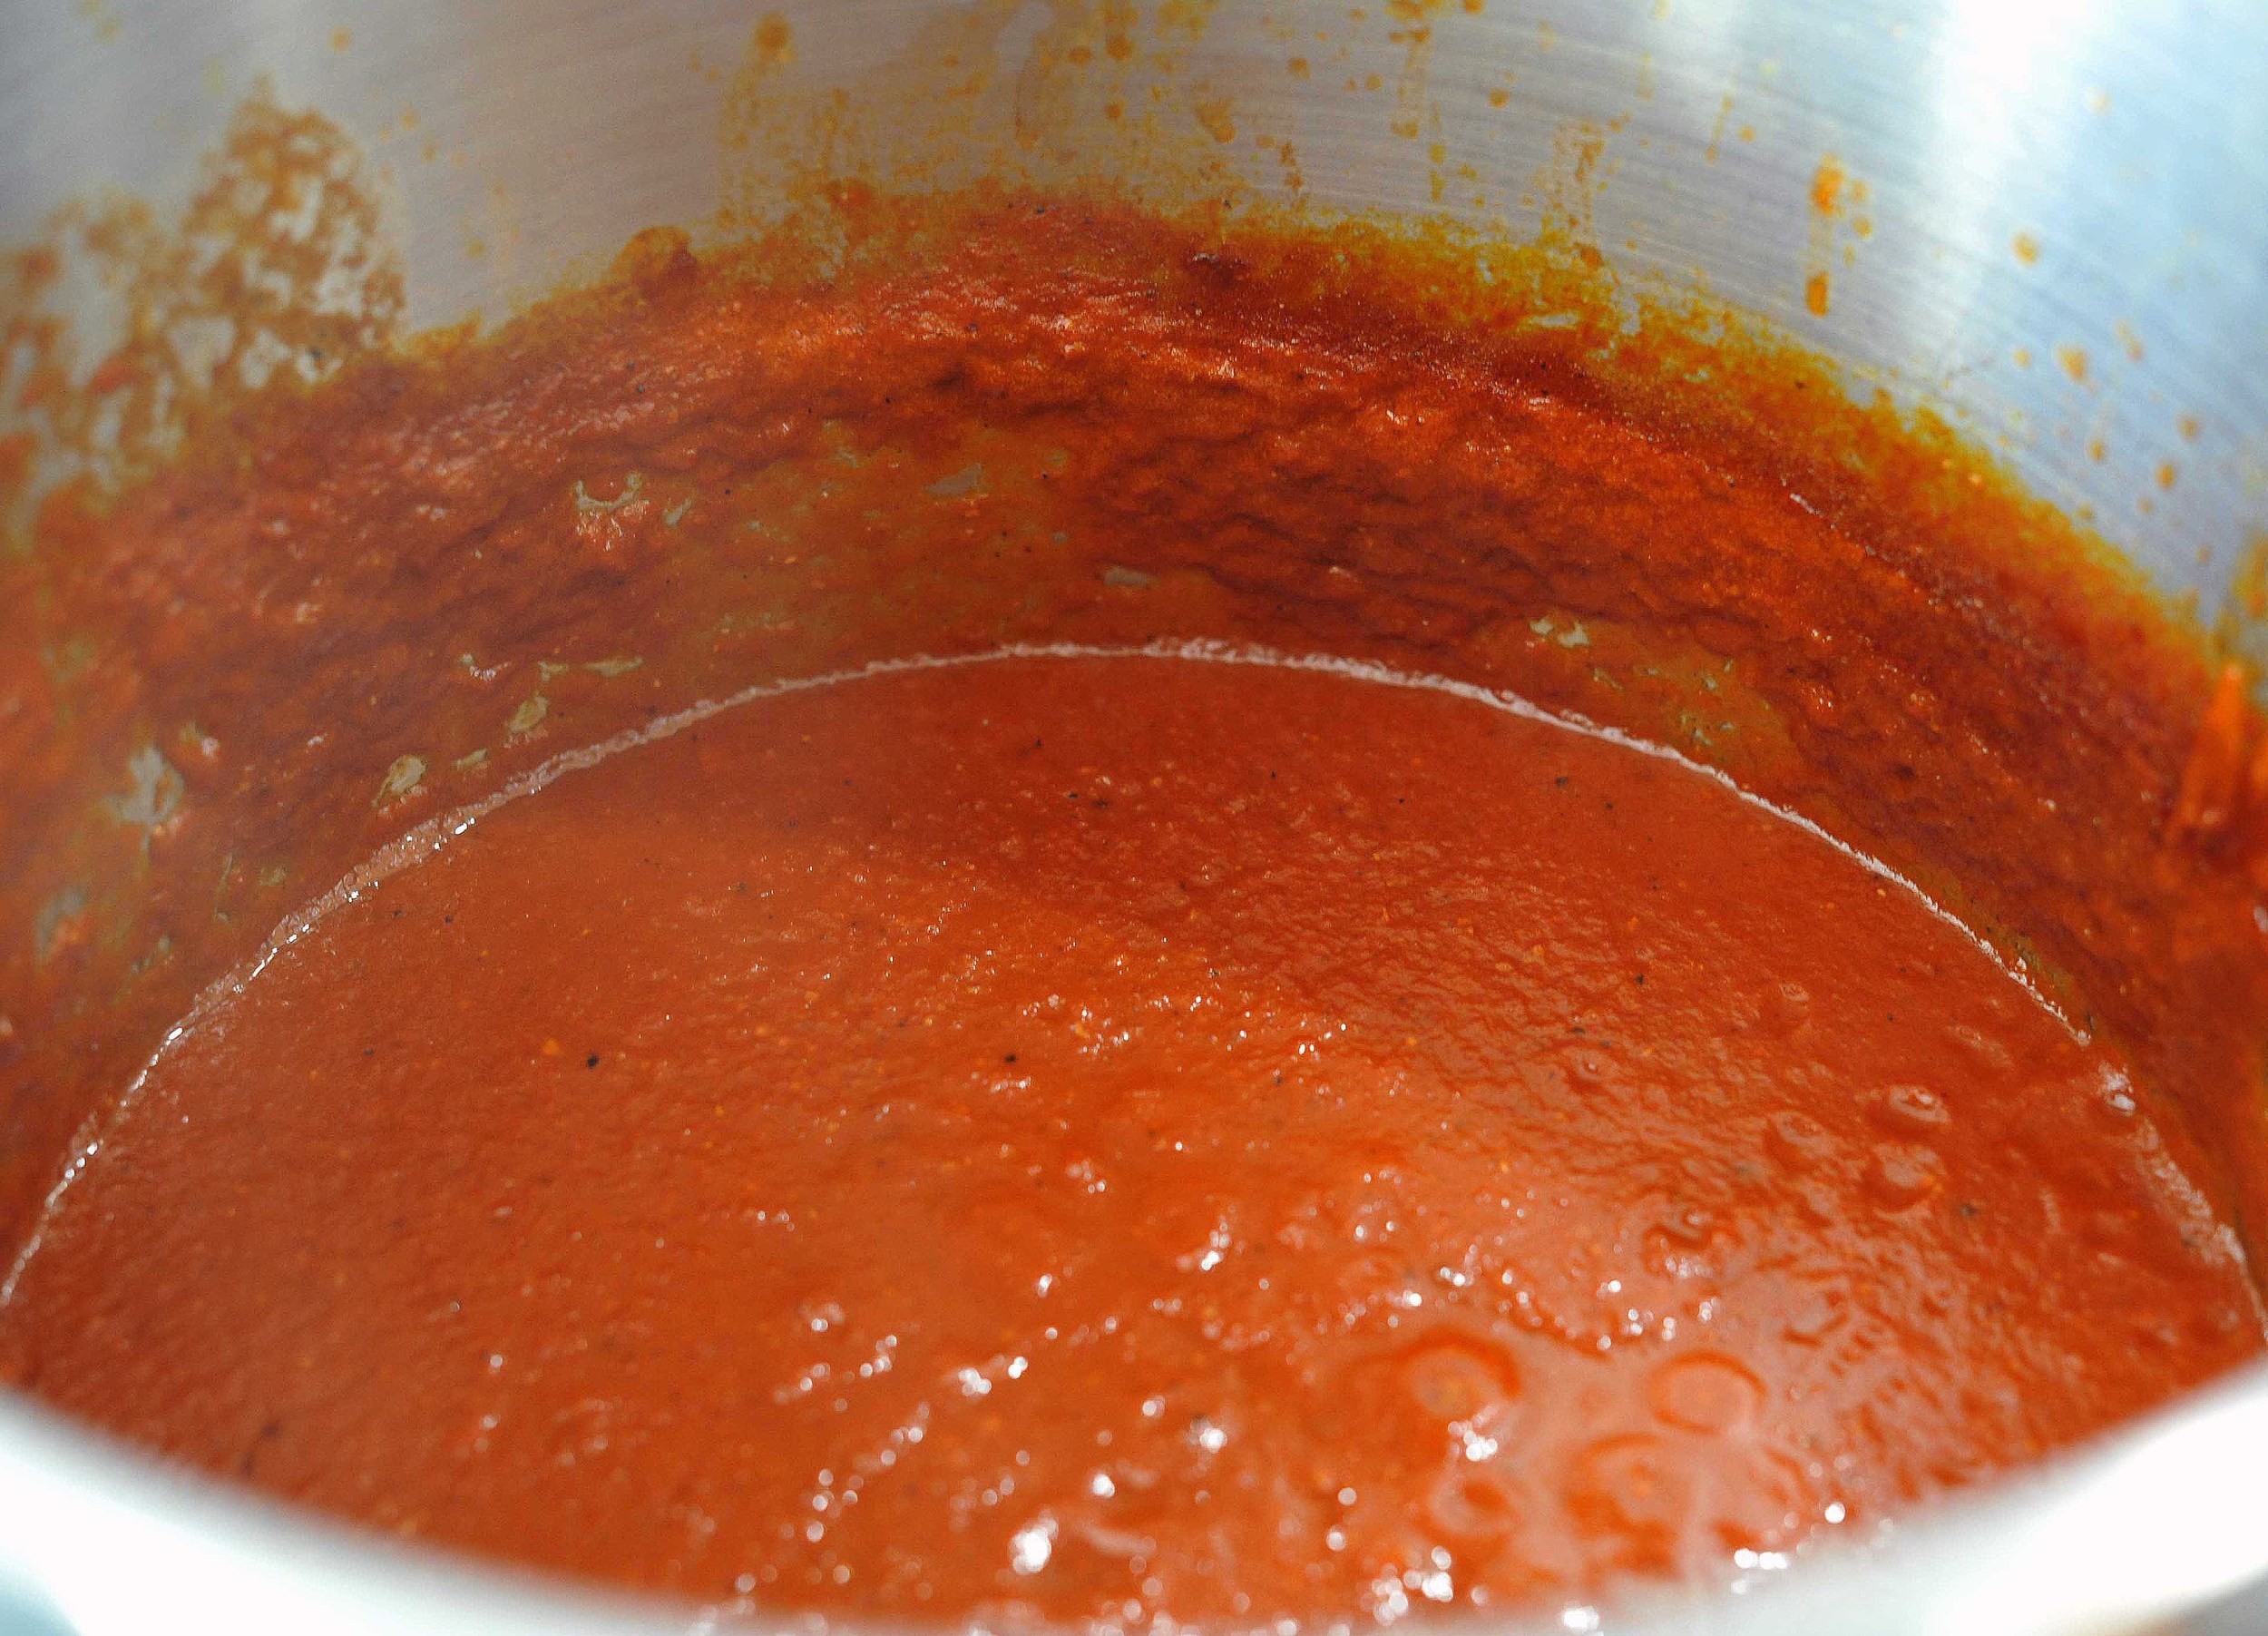
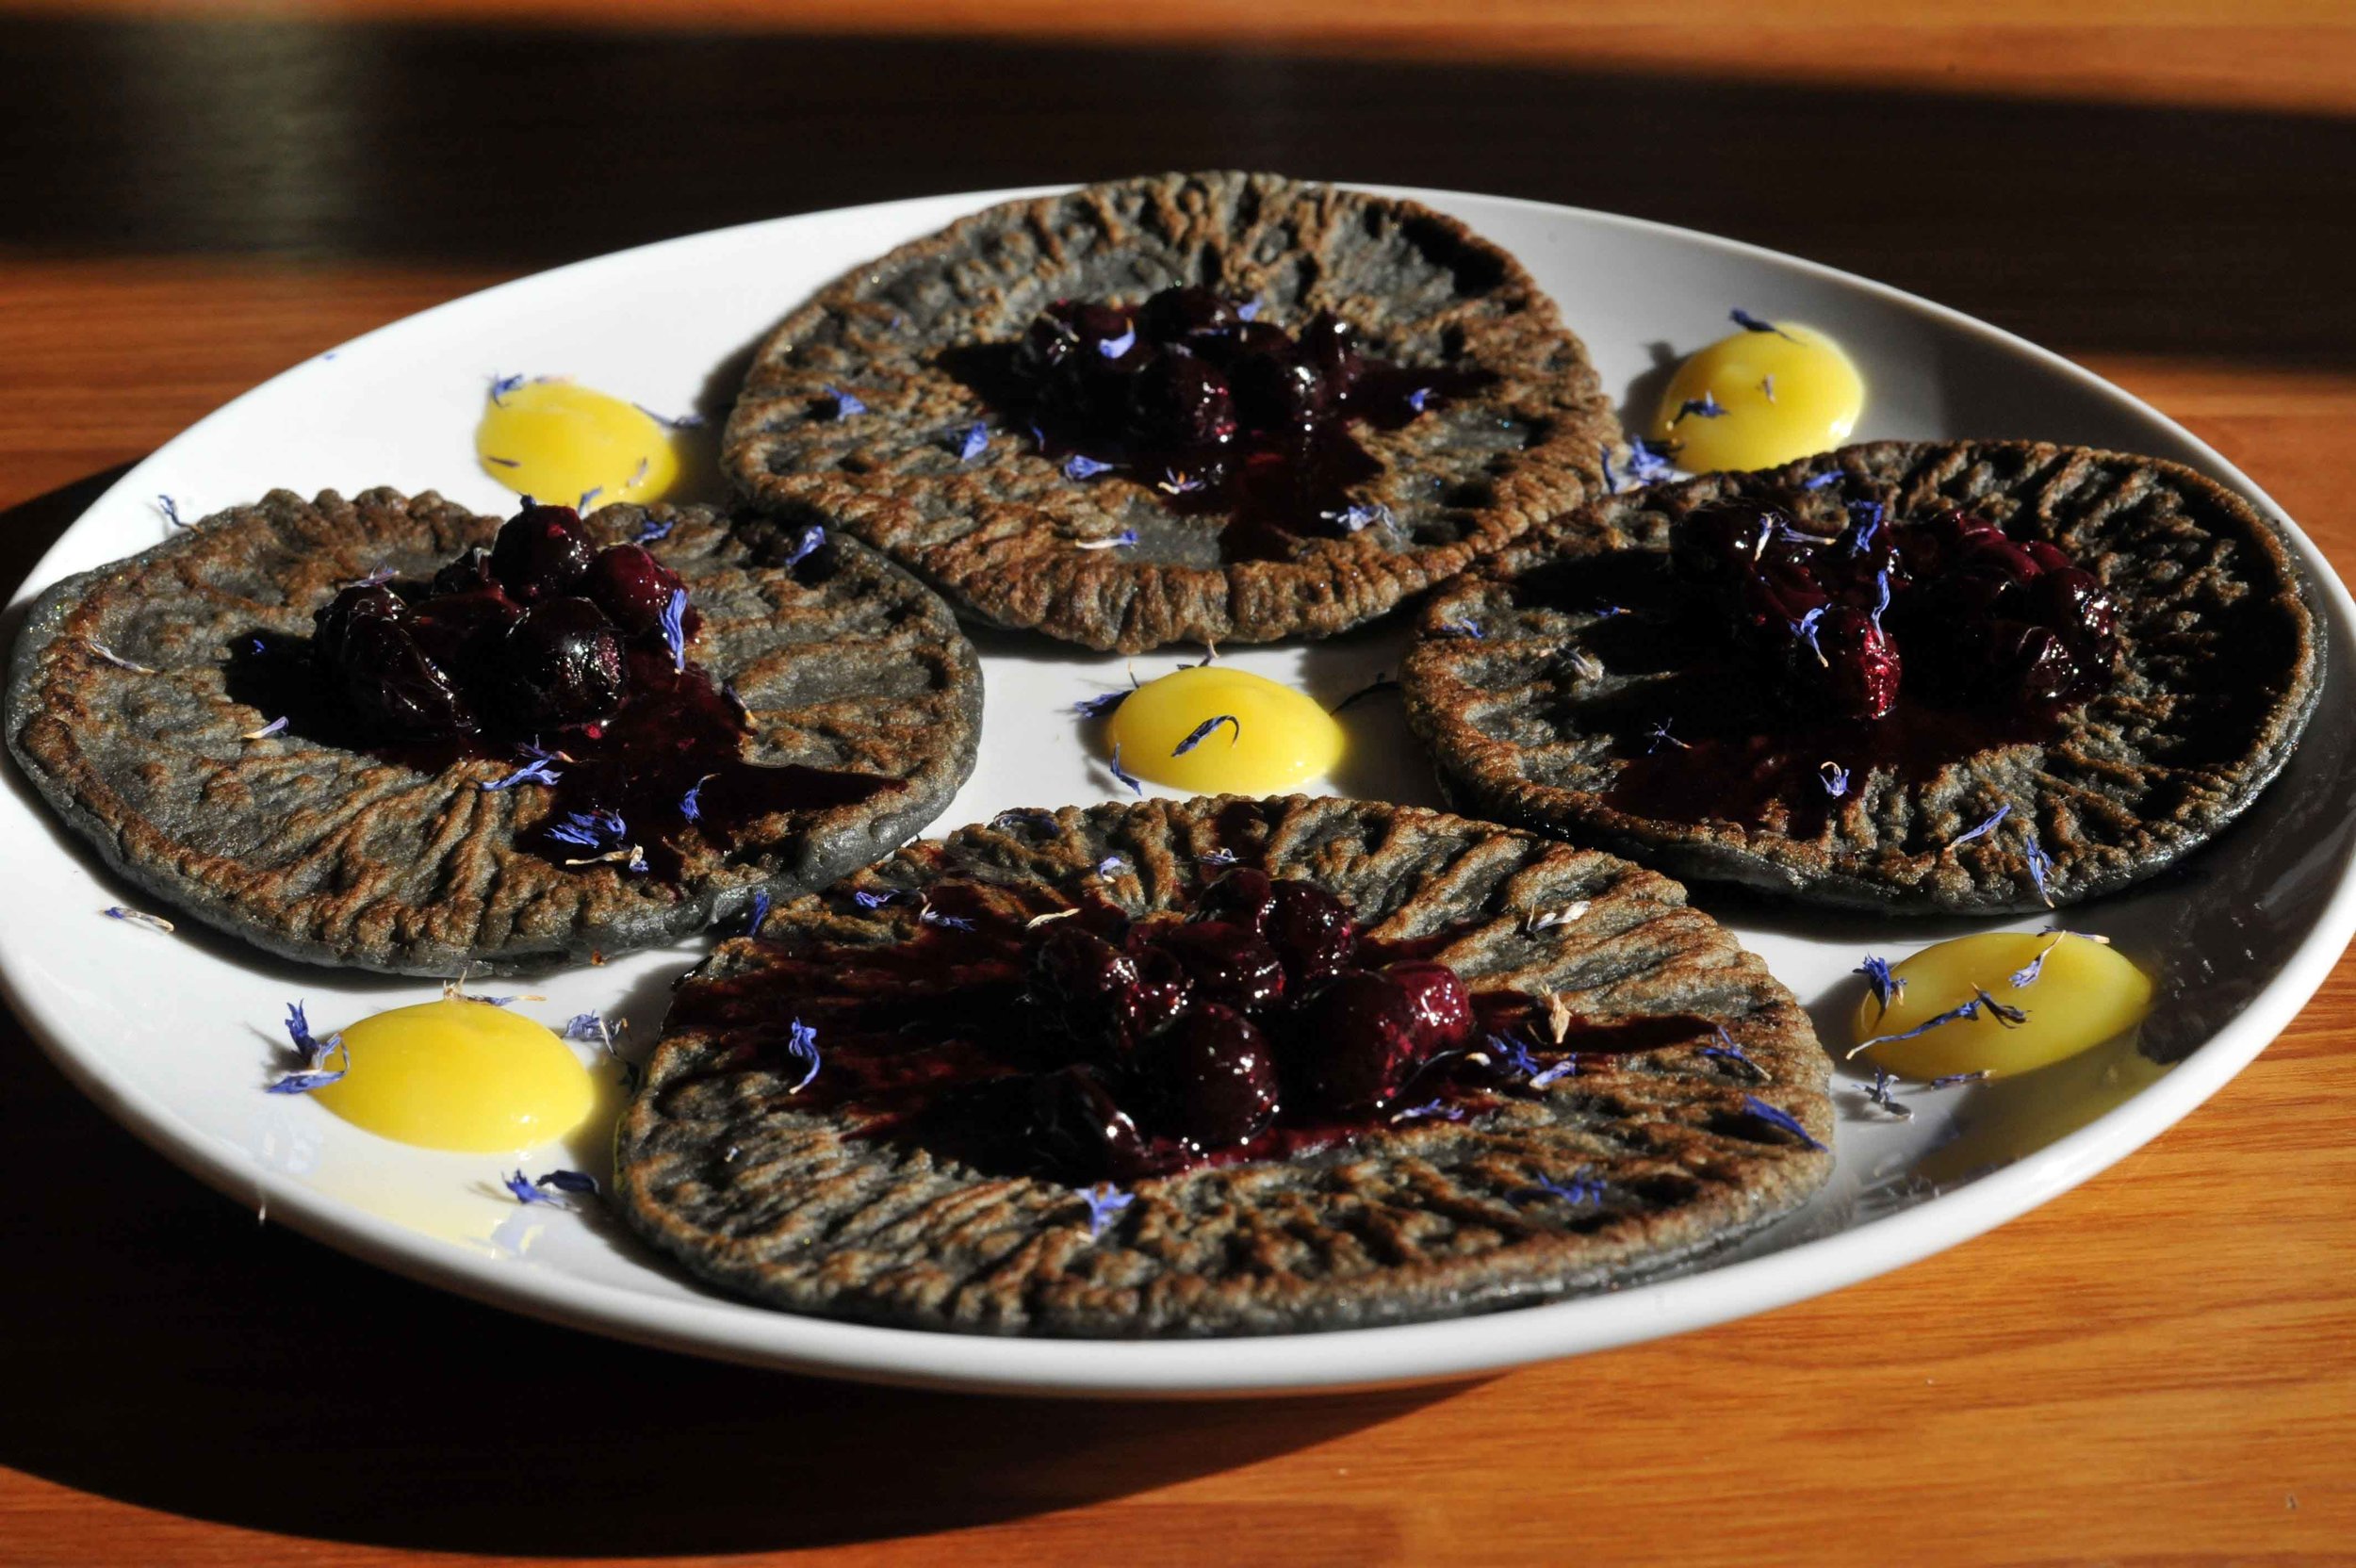
Charcoal pancake batter, dried cornflowers, lemon curd and blueberry compote - Smy Goodness
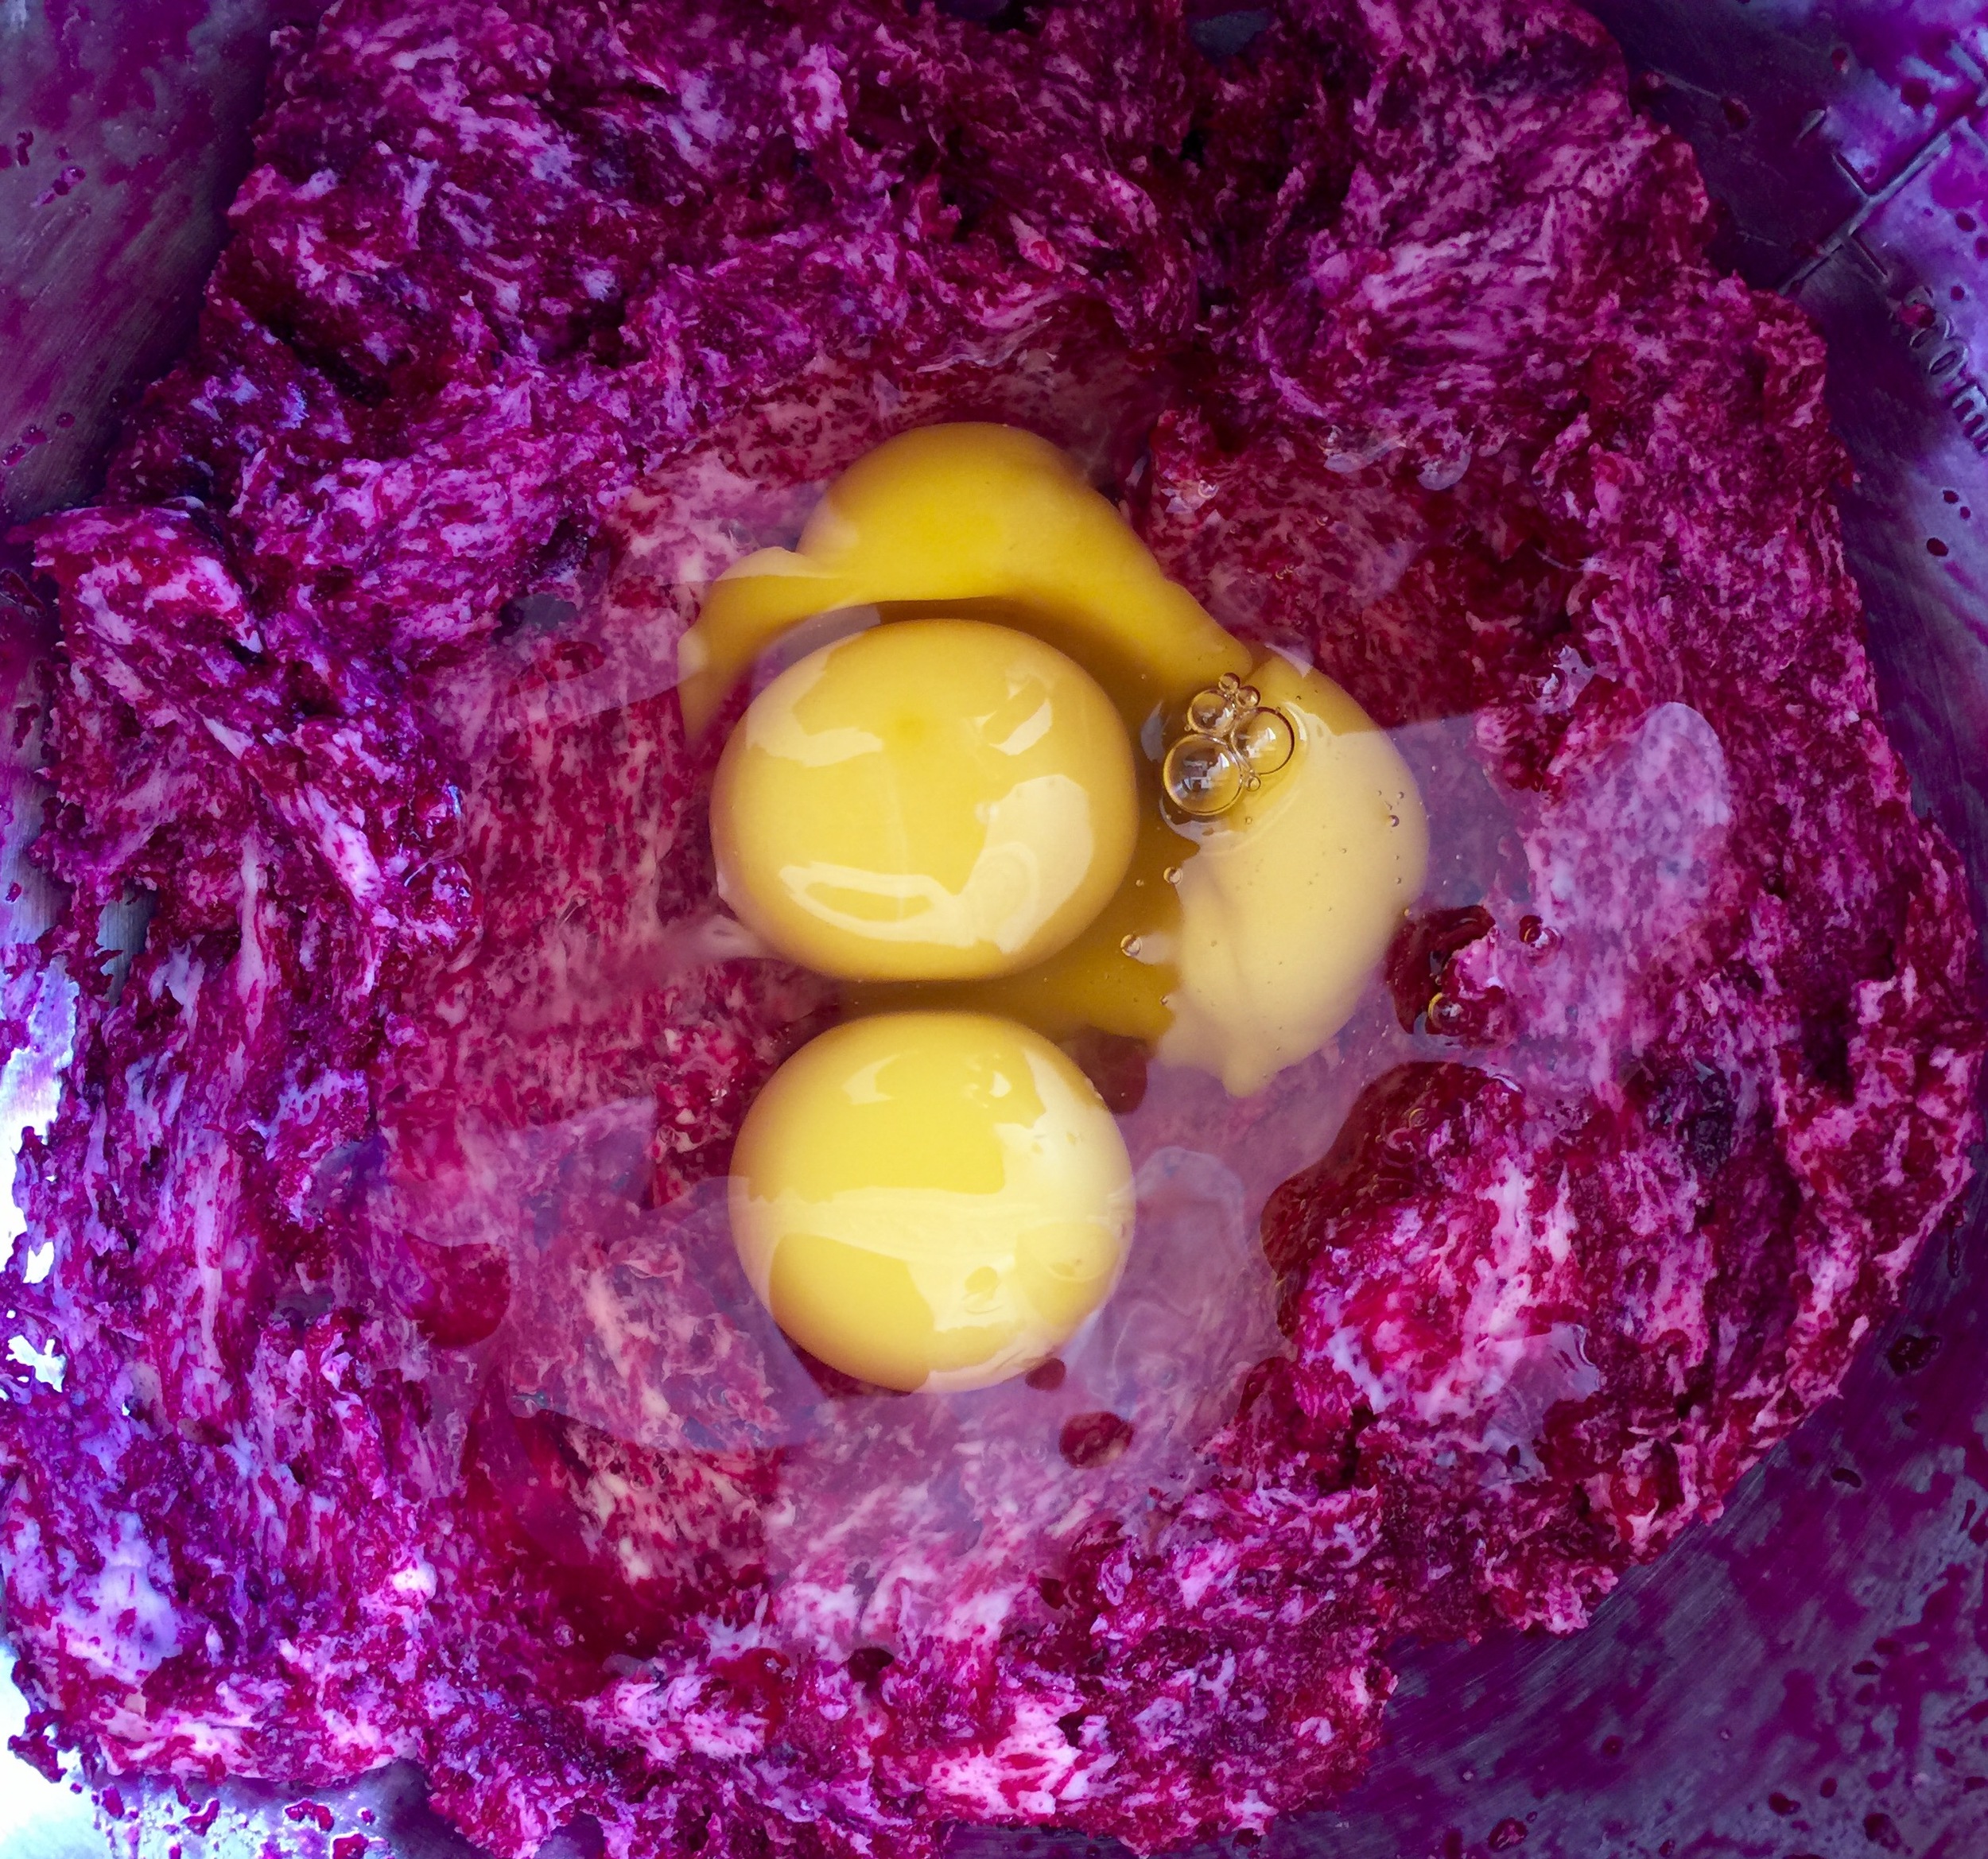
Sift or dry whisk your flour plus the activated charcoal and pinch of salt in a mixing bowl.
Melt half your butter in the same skillet or pan you will make the pancakes in being sure to not overcook it, you want it just melted then remove from heat.
Measure your milk in a glass measuring jug and then add egg and melted butter and whisk well. You can also do his step in a bowl and then transfer back to a measuring jug which will make pouring your batter into the pan easier, avoid spillage and you get a lovely pattern of browning on your pancakes this way. Or use a soup ladle from the bowl to pan.
If possible you can then let your batter rest for an hour or so but this step is not essential.
Preheat your cast iron griddle or pan to medium to medium high heat. As you continue t cook your pancakes you may need to slightly adjust the heat a little up and a little down to get your pancakes just how you like them.
Put a bit of butter in the pan and let sizzle and melt, then quickly pour enough batter so that it spreads nicely and is manageable to turn over. I usually go for 10-15cm circles of batter. The sides will start to bubble and brown and the batter will start to change in colour a bit as it cooks underneath starting from the outer edges going in towards the middle. I usually wait until the batter has visible cooked underneath and the edges are lightly browned and then flip or turn. If you turn to quickly or not soon enough it’s no bother. I always make the first pancake a bit smaller and eat it as a taster to make sure I haven’t: a) made any silly measuring mistakes b) the first pancake is always a sacrificial pancake that isn’t is good as the rest and gives me an opportunity to fine tune the heat levels in the pan. c) acts as fuel for me for the time frame between when I cook up the rest of the batter and serve them all up!
You can keep your pancakes warm as you cook through a myriad of ways - I feel like I have tried them all but am always open to suggestions! I either keep the oven on a low or ‘warming’ setting and as you make them place them on a plate in the oven with a bit of aluminium foil over your pancakes which will keep them warm. When ready serve them all together keeping in mind to protect your table and little hands from the warm plate. I have also tried a sort of bain marie type technique with a plate over a pan of water on a low heat and place your cooked pancakes on the plate with a bit of aluminium foil over the top. I think this does keep them nice and warm but it can sometimes end up continuing the cooking process. OR cook and serve them right away or with a big ole griddle or pan you can have several on the go at once in a symphony of pancakes and pancakes sizzling and turning.
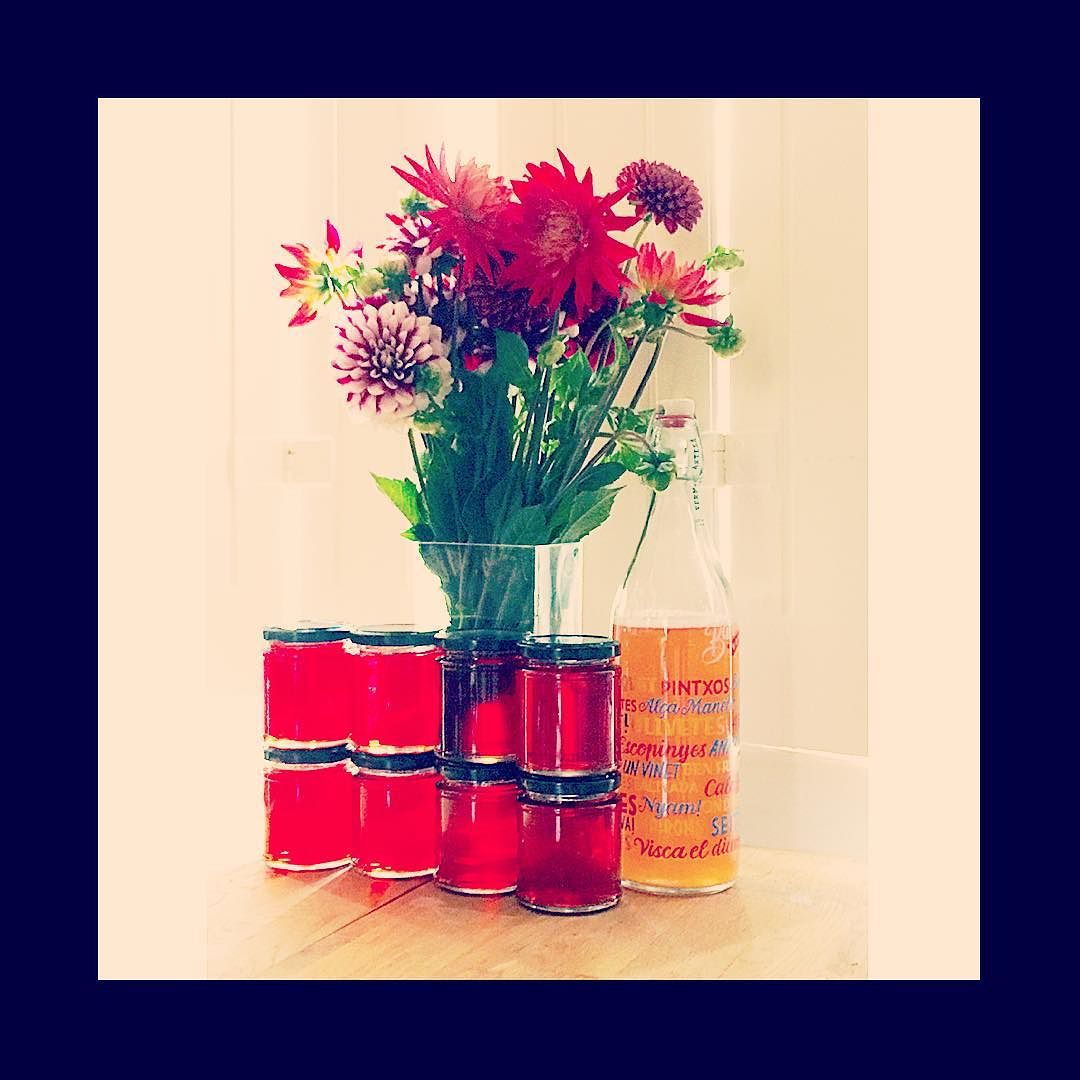
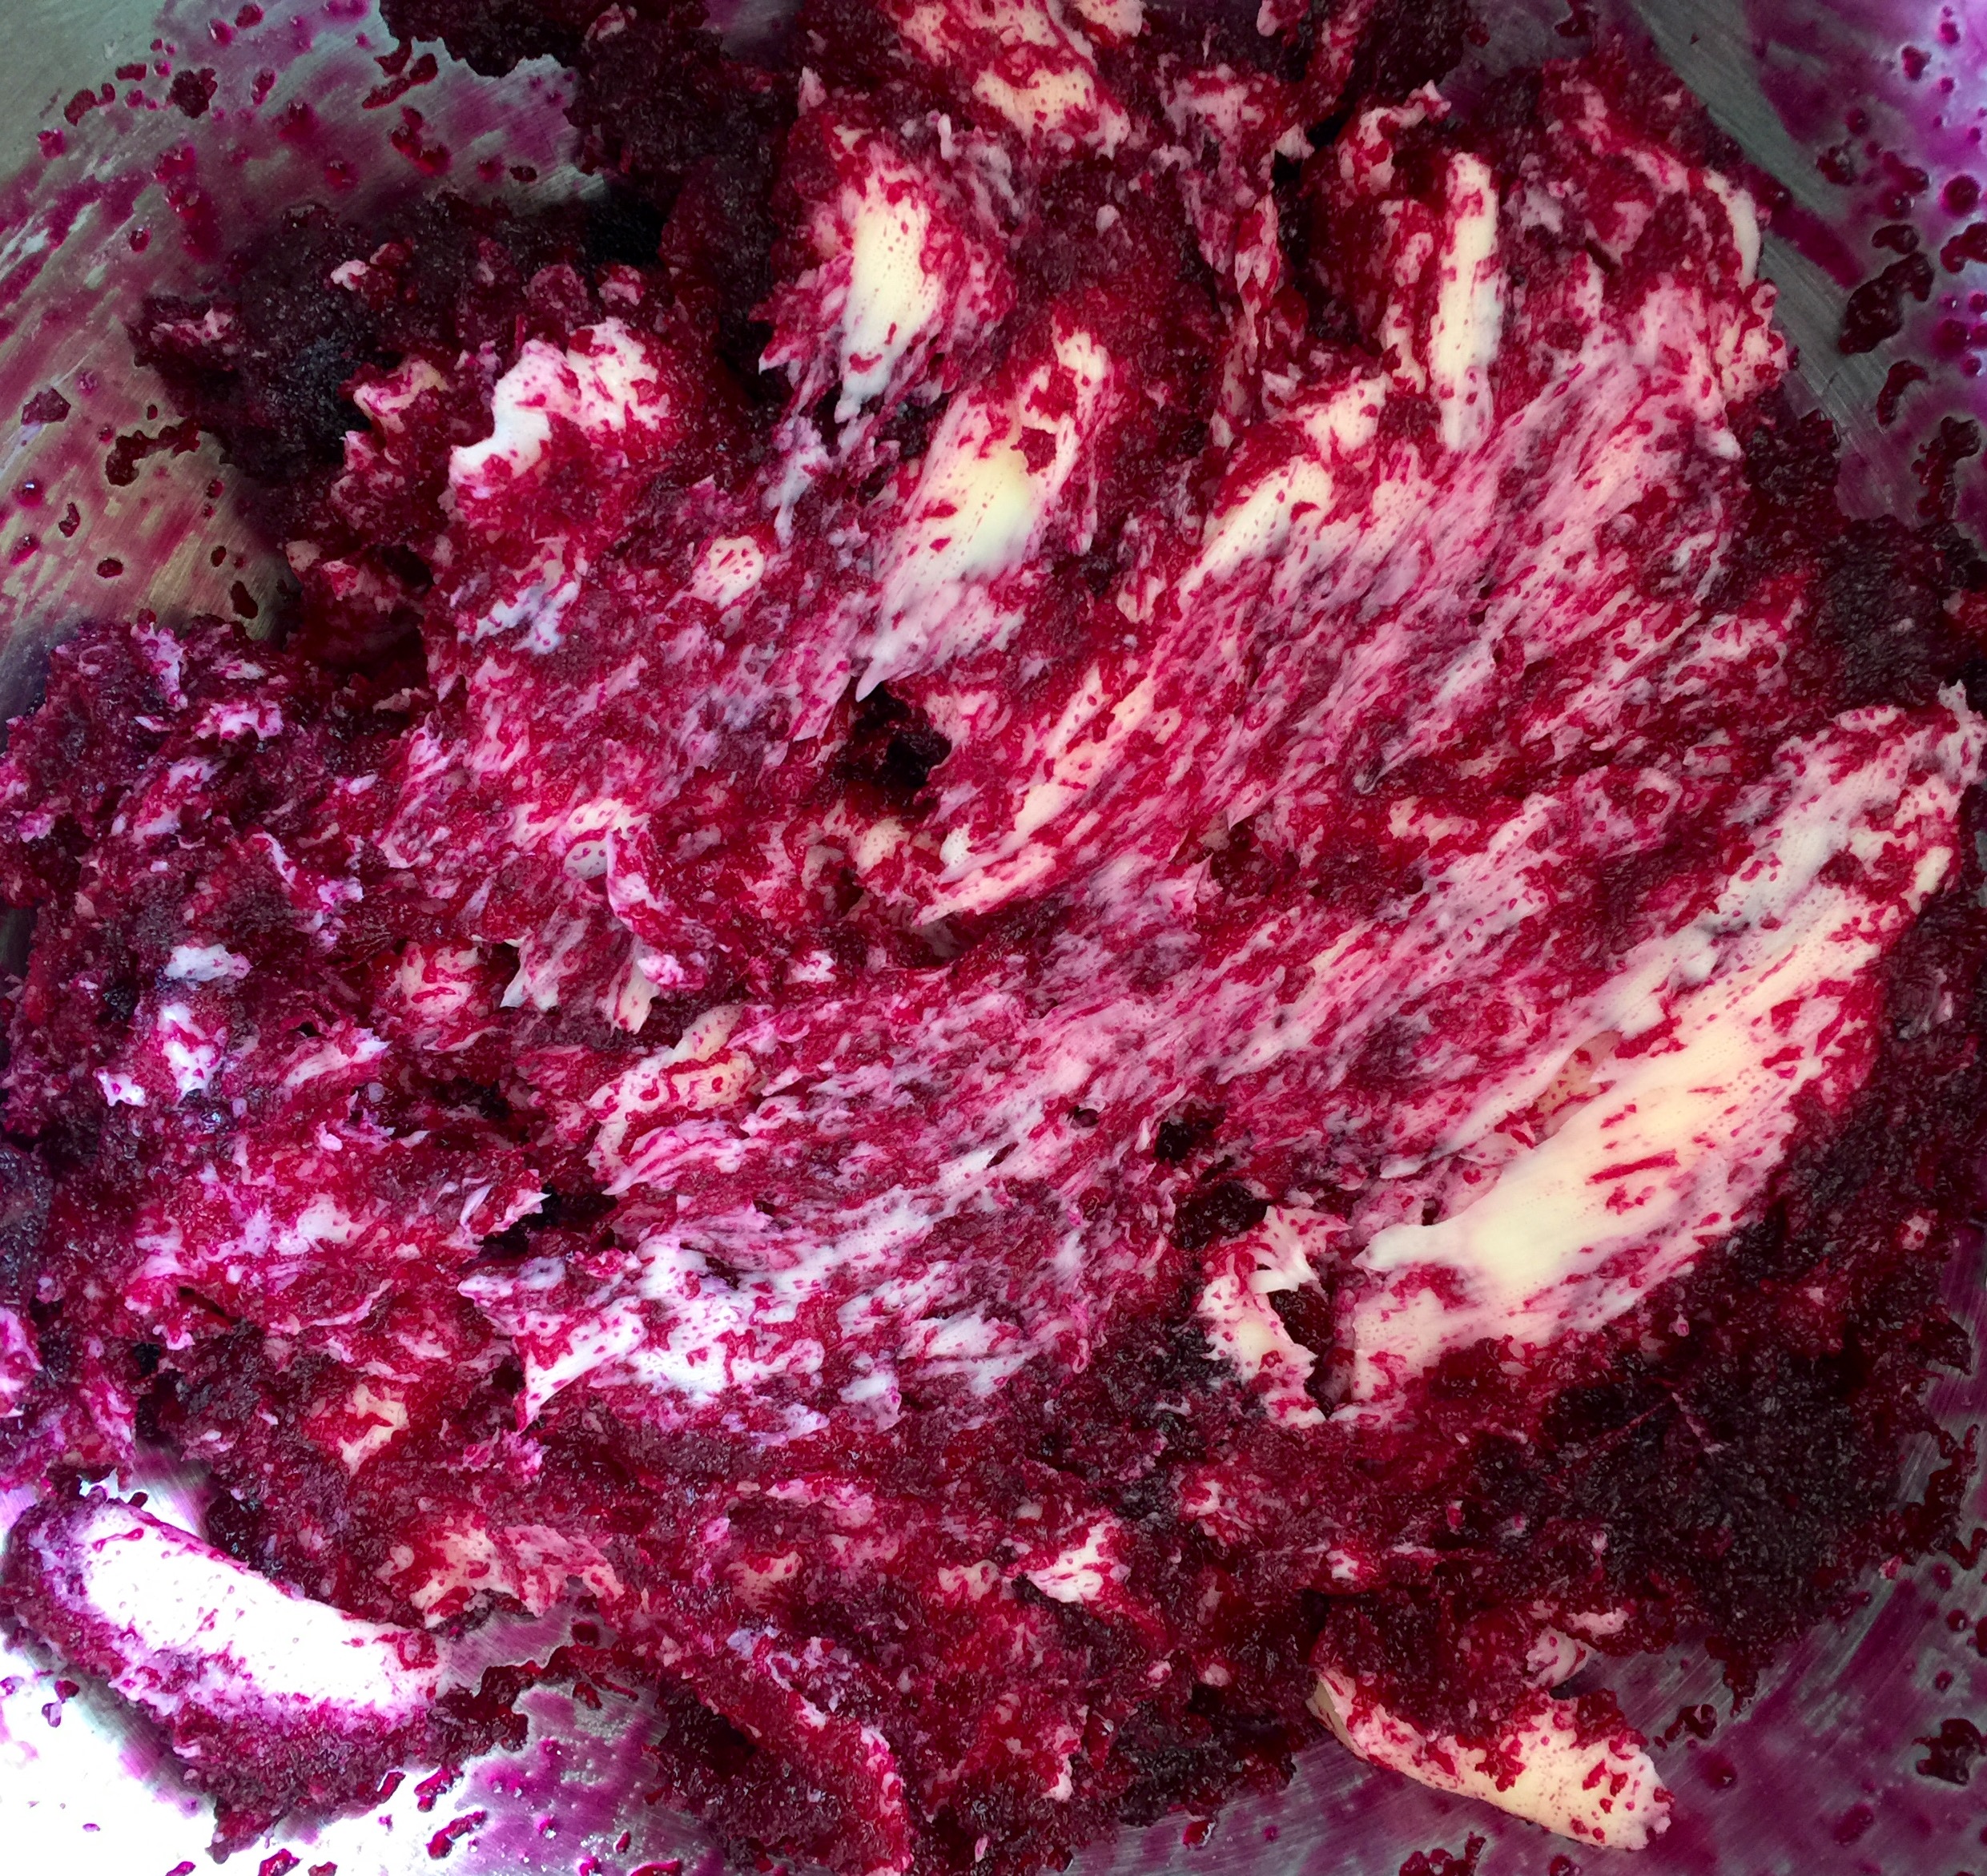
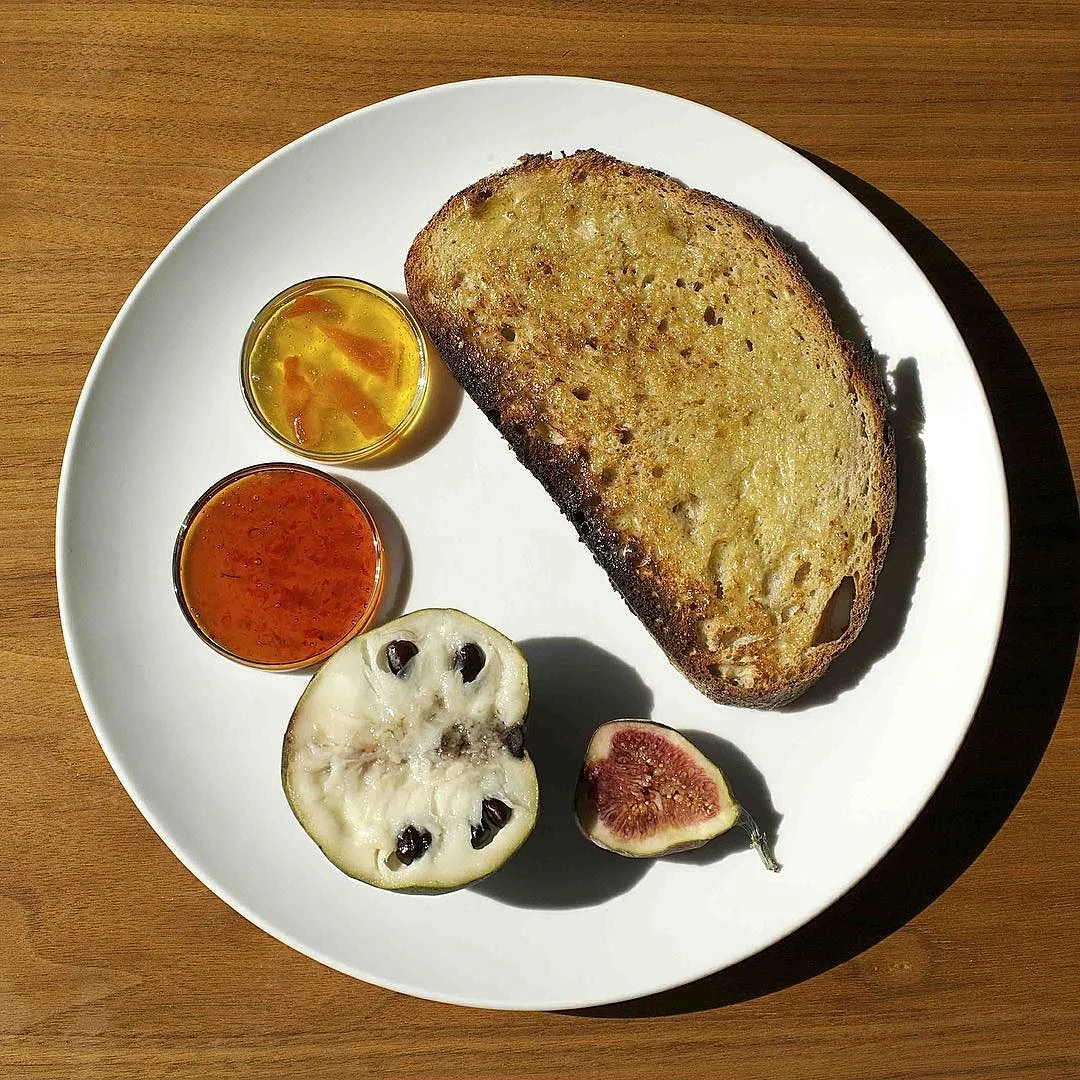
I love fruit and Smy preserves on pancakes. My favourites are bananas and honey and most notably my Smy Goodness lemon curd and blueberry compote. Both are available in small batches and I usually make a few jars a month or special orders as they have a shorter shelf life than all my flavours. You can easily make your own blueberry compote by throwing a punnet of blueberries in a pan before you start your pancakes and add the juice of half a lemon or orange, some zest, some honey - heck, I even sometimes add a dash of brandy in there. Let it cook, stirring occasionally and don’t let it burn but allow it to go all glisten-y and rich while you are cooking your pancakes. When your breakfast has come together you can always hit it with a final bit of heat before putting it in a little jug or serving bowl for you and your guests to put warm spoonfuls over their warm pancakes. How do you like your pancakes?
For more info all about pancakes listen to Smy Goodness Podcast Ep5 - Pancakes & Creativity with Aimee Furnival of Another Studio. Aimee and I are long time pancake collaborators.

my Goodness pancake brunch - photo by @elcidre

Pancake Print by Smy Goodness