Handmade Pasta - Spaghetti


Here is a fifteen second video of my first attempt at making spelt spaghetti. Check out my spelt pasta blog post for the spelt pasta recipe.

Handmade spelt spaghetti with tomato and bacon sauce

Handmade spelt spaghetti with tomato and bacon sauce

The spaghetti was the inspiration for the above print painting that I made.

The spaghetti was the inspiration for the above print painting that I made.

 
Pasta sauce ingredients

Pasta sauce ingredients

 
Spelt Spaghetti

Spelt Spaghetti

Tomato sauce with bacon

Tomato sauce with bacon

Tomato Sauce with Bacon Recipe

Ingredients
450g tin of tomatoes or homemade pomodoro
150g bacon or pancetta
1 red pepper
1 shallot or 1/2 an onion chopped finely
2 garlic cloves sliced thinly
1 medium chilli chopped finely
2 Tbsp coconut or olive oil
2 Tbsp Six-pepper T'chup
salt and pepper and parmesan to taste

*For this recipe I used handmade spelt spaghetti using the recipe as linked above and using my Imperia pasta maker's spaghetti section. The section needed to be cleaned between each passing of the pasta sheets as little bits were getting stuck in the grooves which turn the sheets into spaghetti which was making the spaghetti sort of twisted and broken. I cooked my spaghetti for about 7 minutes which was much longer than the 4 minutes that I needed with my spelt fettucine that I made. I think this was due to me having left the fettucine to dry out longer than I had with the spaghetti.

The resulting recipe was hearty but not overly heavy, this is probably down to the spelt flour. With each bite I was able to taste the ingredients of the pasta and the flavours of the sauce. I find I'm eating less pasta now that I'm hand making it but the levels of flavour make it much more of an enjoyable pleasure. Next up will be lasagna but for now the recipe for the spelt spaghetti and tomato sauce with bacon and red peppers.

Instructions

  1. Chop and lightly fry the bacon in your preferred oil and cook for 5-7 minutes without browning or burning.
  2. Add the garlic, shallot and chilli and cook gently for 3-5 minutes, stirring constantly so that they do not burn.
  3. Add in the tomatoes, salt and pepper, turn the heat up to meduium hot and stir thoroughly until everything is bubbling away nicely. Cook for 5 minutes then place a lid over the sauce, reduce the heat to low and leave to cook for at least 45 minutes, checking occassionally that it is not drying out. If it is drying out you can add 75ml of water, stir it in and continue to cook.
  4. Cook your pasta and once ready and drained stir the sauce into the pasta until it is evenly dispersed, top with parmesan and serve.


Handmade Bath Bombs or Bath Fizzies


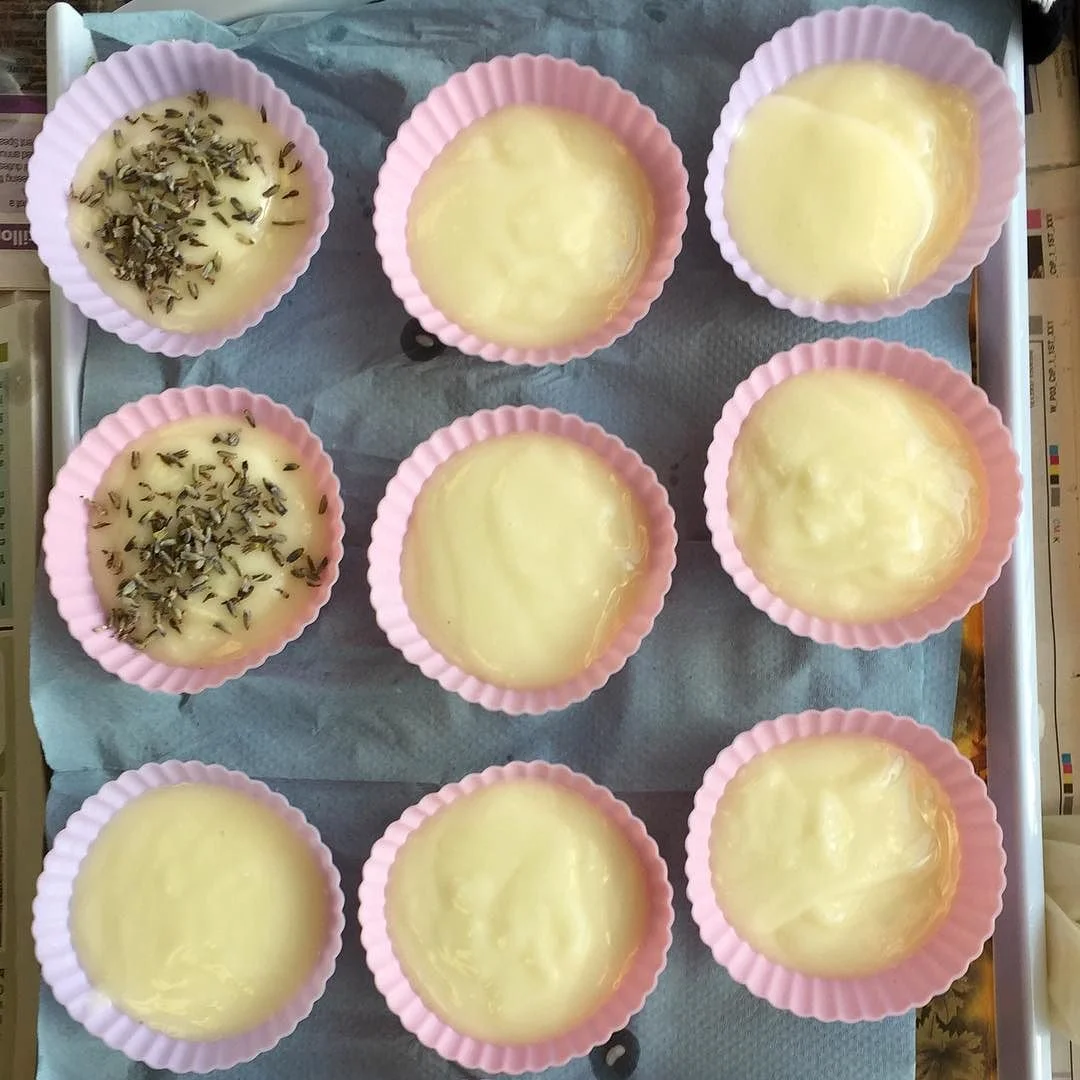
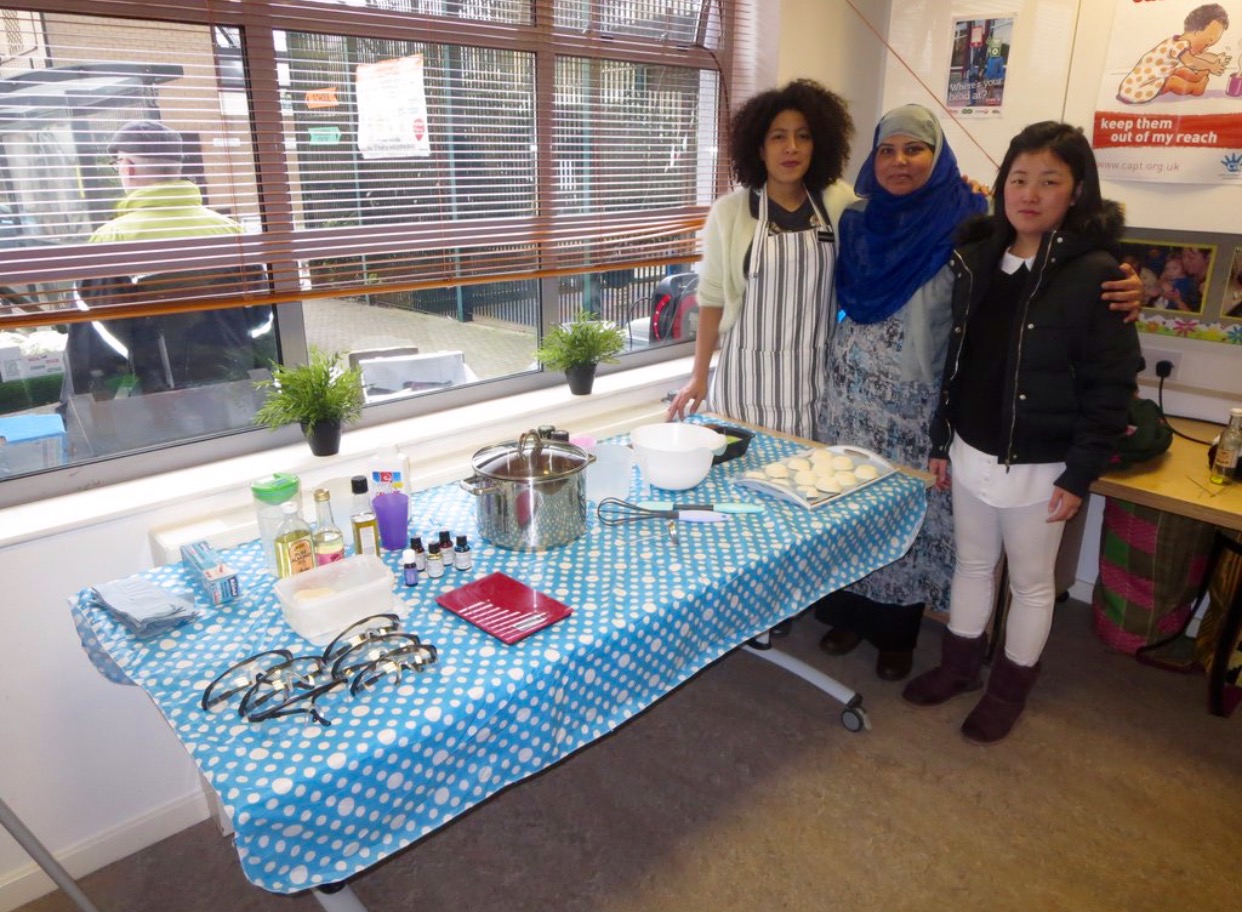
In our final six-week soap making course we made bath bombs or bath fizzies. We've all seen these in the shops or have received some as a gift and they are fun,give great results and are luckily easy to make. You can buy all the ingredients from most shops, chemists or online. To form the shapes of your bathbombs you can buy specific shapes online that will create round ones or use silicone moulds, recyclable items like little yoghurt pots or go to the pound shop and buy a muffin tray which is what I have used for this class.

Dry Ingredients
250g bicarbonate of soda
75g epsom salts or mineral salt
75g citric acid
50g cornstarch

Wet Ingredients
2 tsp oil
1/2 tsp water
4 drops essential oil/fragrance
1-2 drops food colouring/beauty grade colourings

Bath Bombs/Bath Fizzies Instructions

  1. Lightly grease your moulds, trays or containers with any oil.
  2. Mix all the dry ingredients together in a bowl, make sure there are no lumps at all, use a whisk or a spatula to make sure there are no lumps.
  3. Combine all your wet ingredients together in a separate container and thoroughly mix.
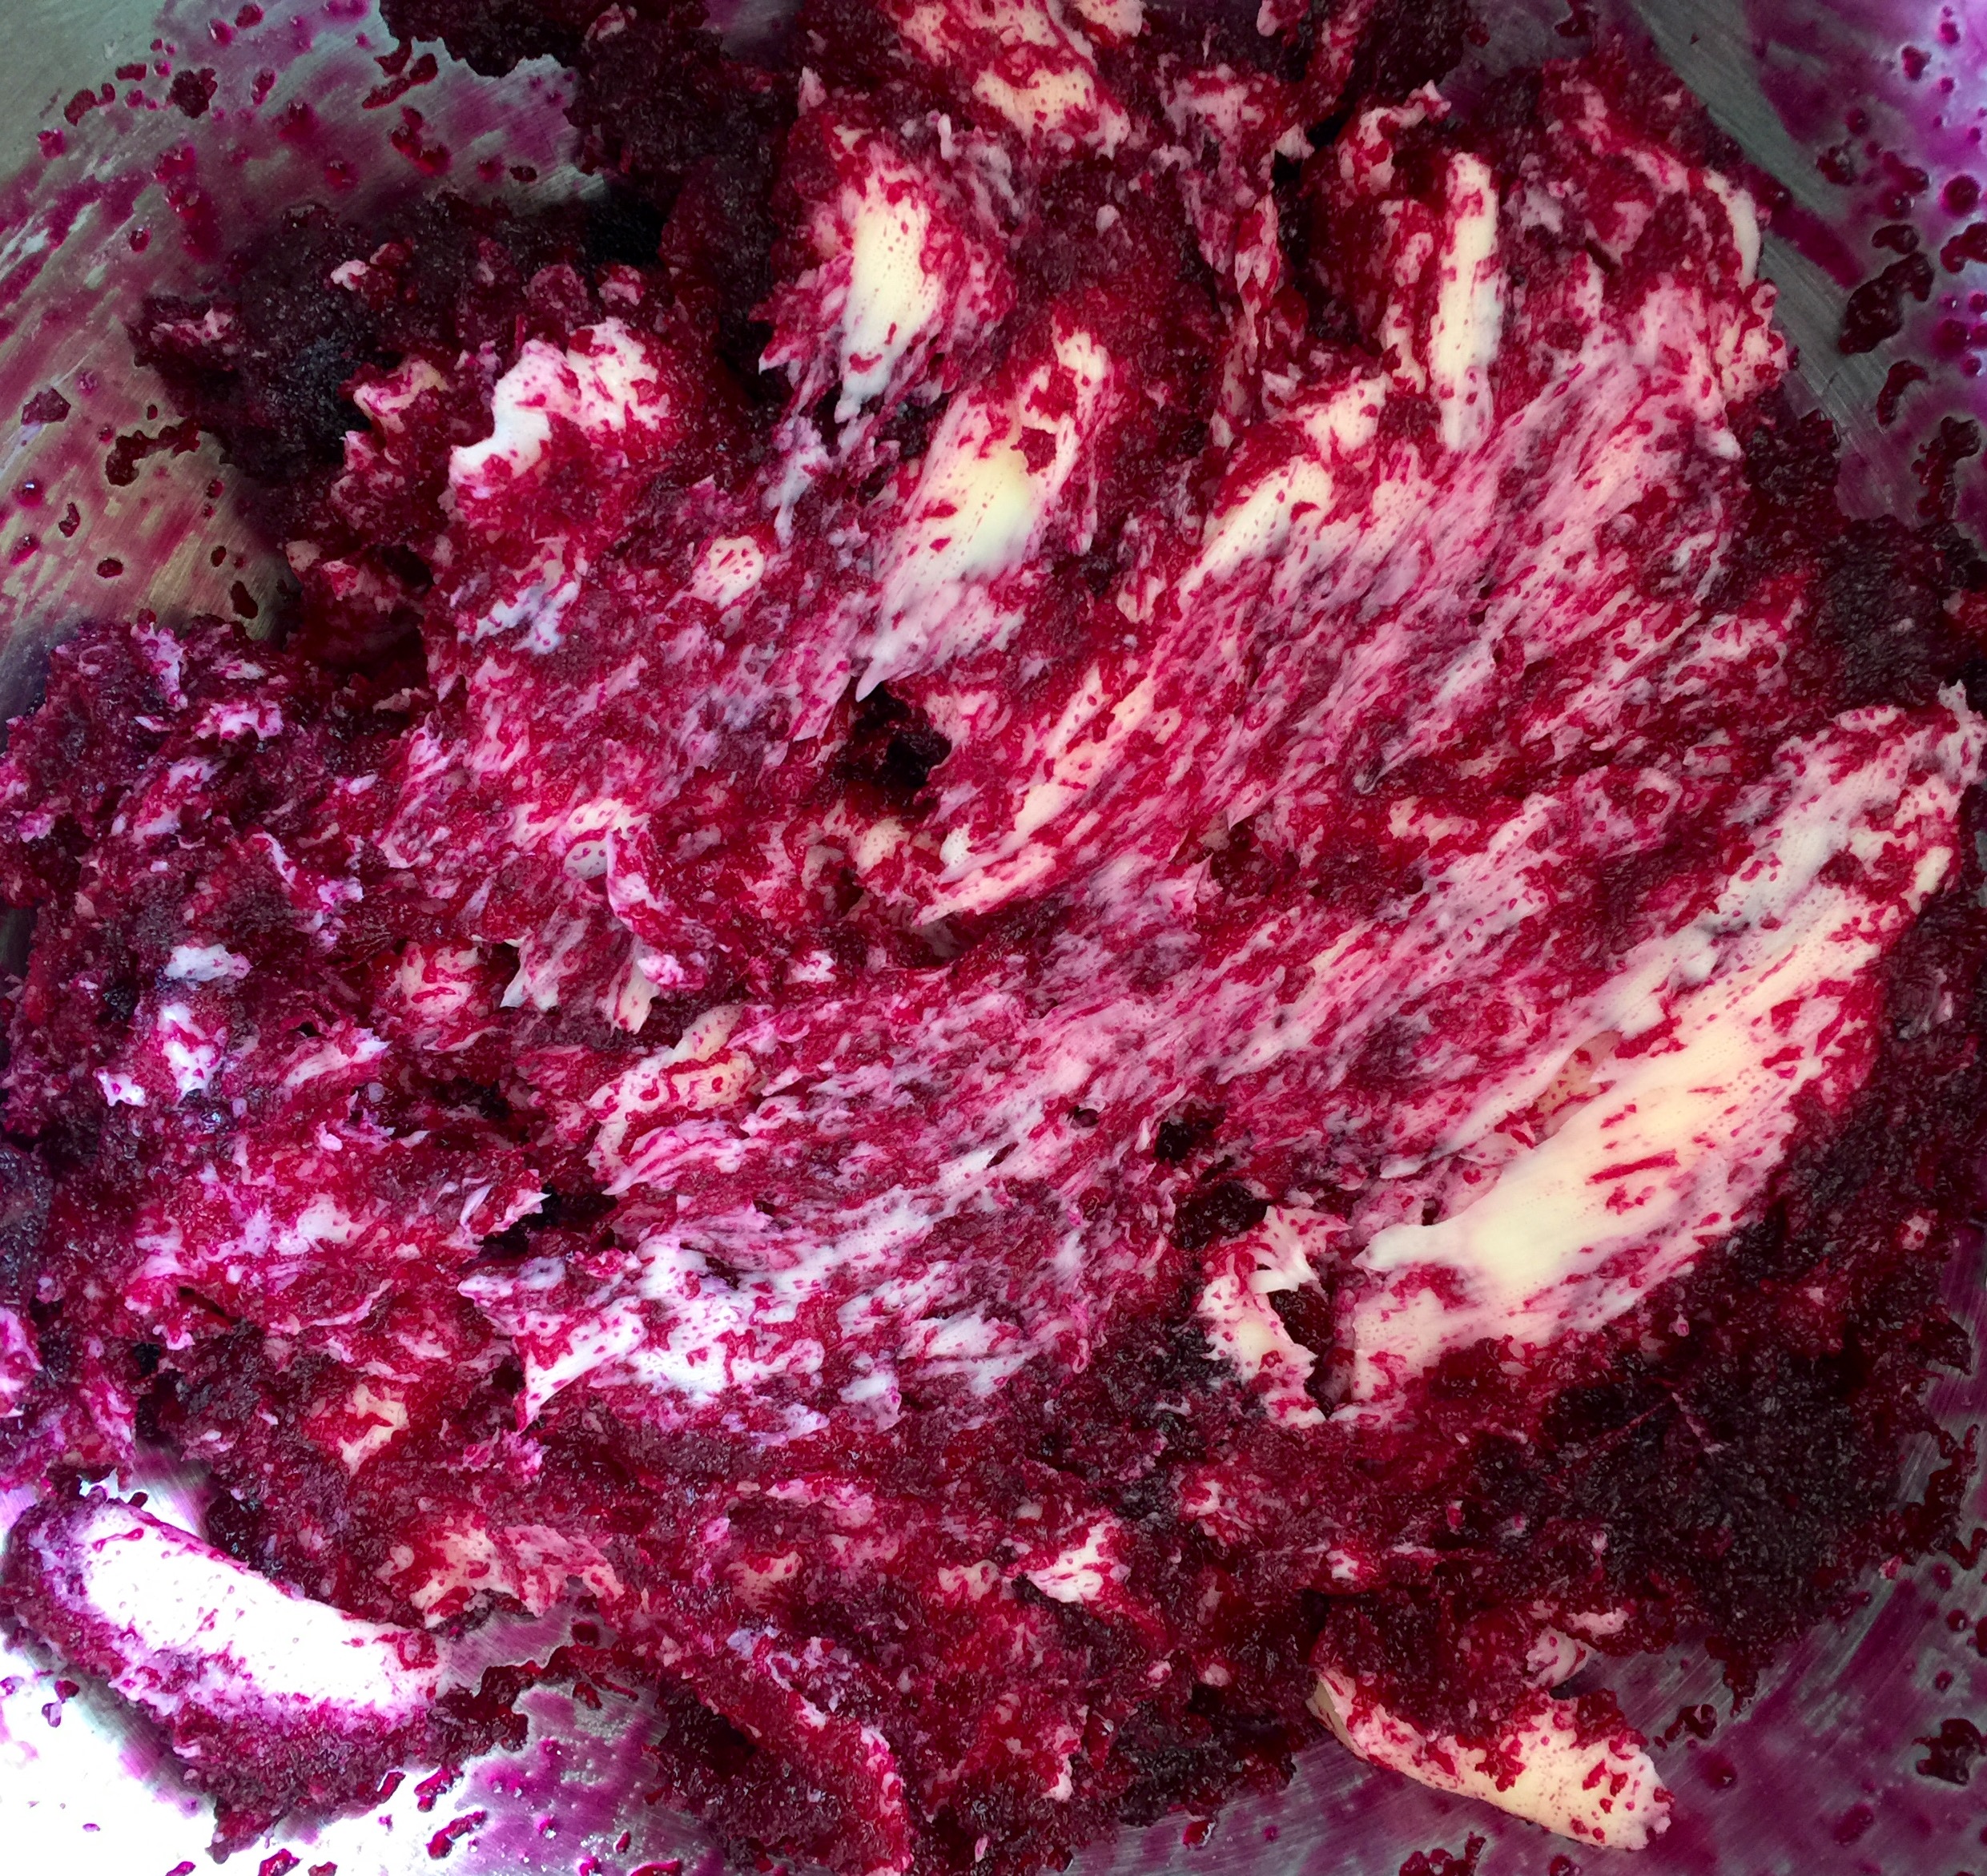
  4. In stages, add a little bit of the wet ingredients to the dry ingredients, stirring all the time, until both are combined. You might hear a bit of fizzing which is normal, you just need to keep stirring.
  5. .Your mixture will start to appear a bit damp and clumpy and you can test if it’s ready by balling some together in your hand. You want the mixture to hold it’s shape and not crumble. If it is crumbling and you have added all your colour mixture you can give your mixture a spray of water and them stir again until it holds together in your hands. Don't be tempted to add lots of water as this will make the mixture expand.
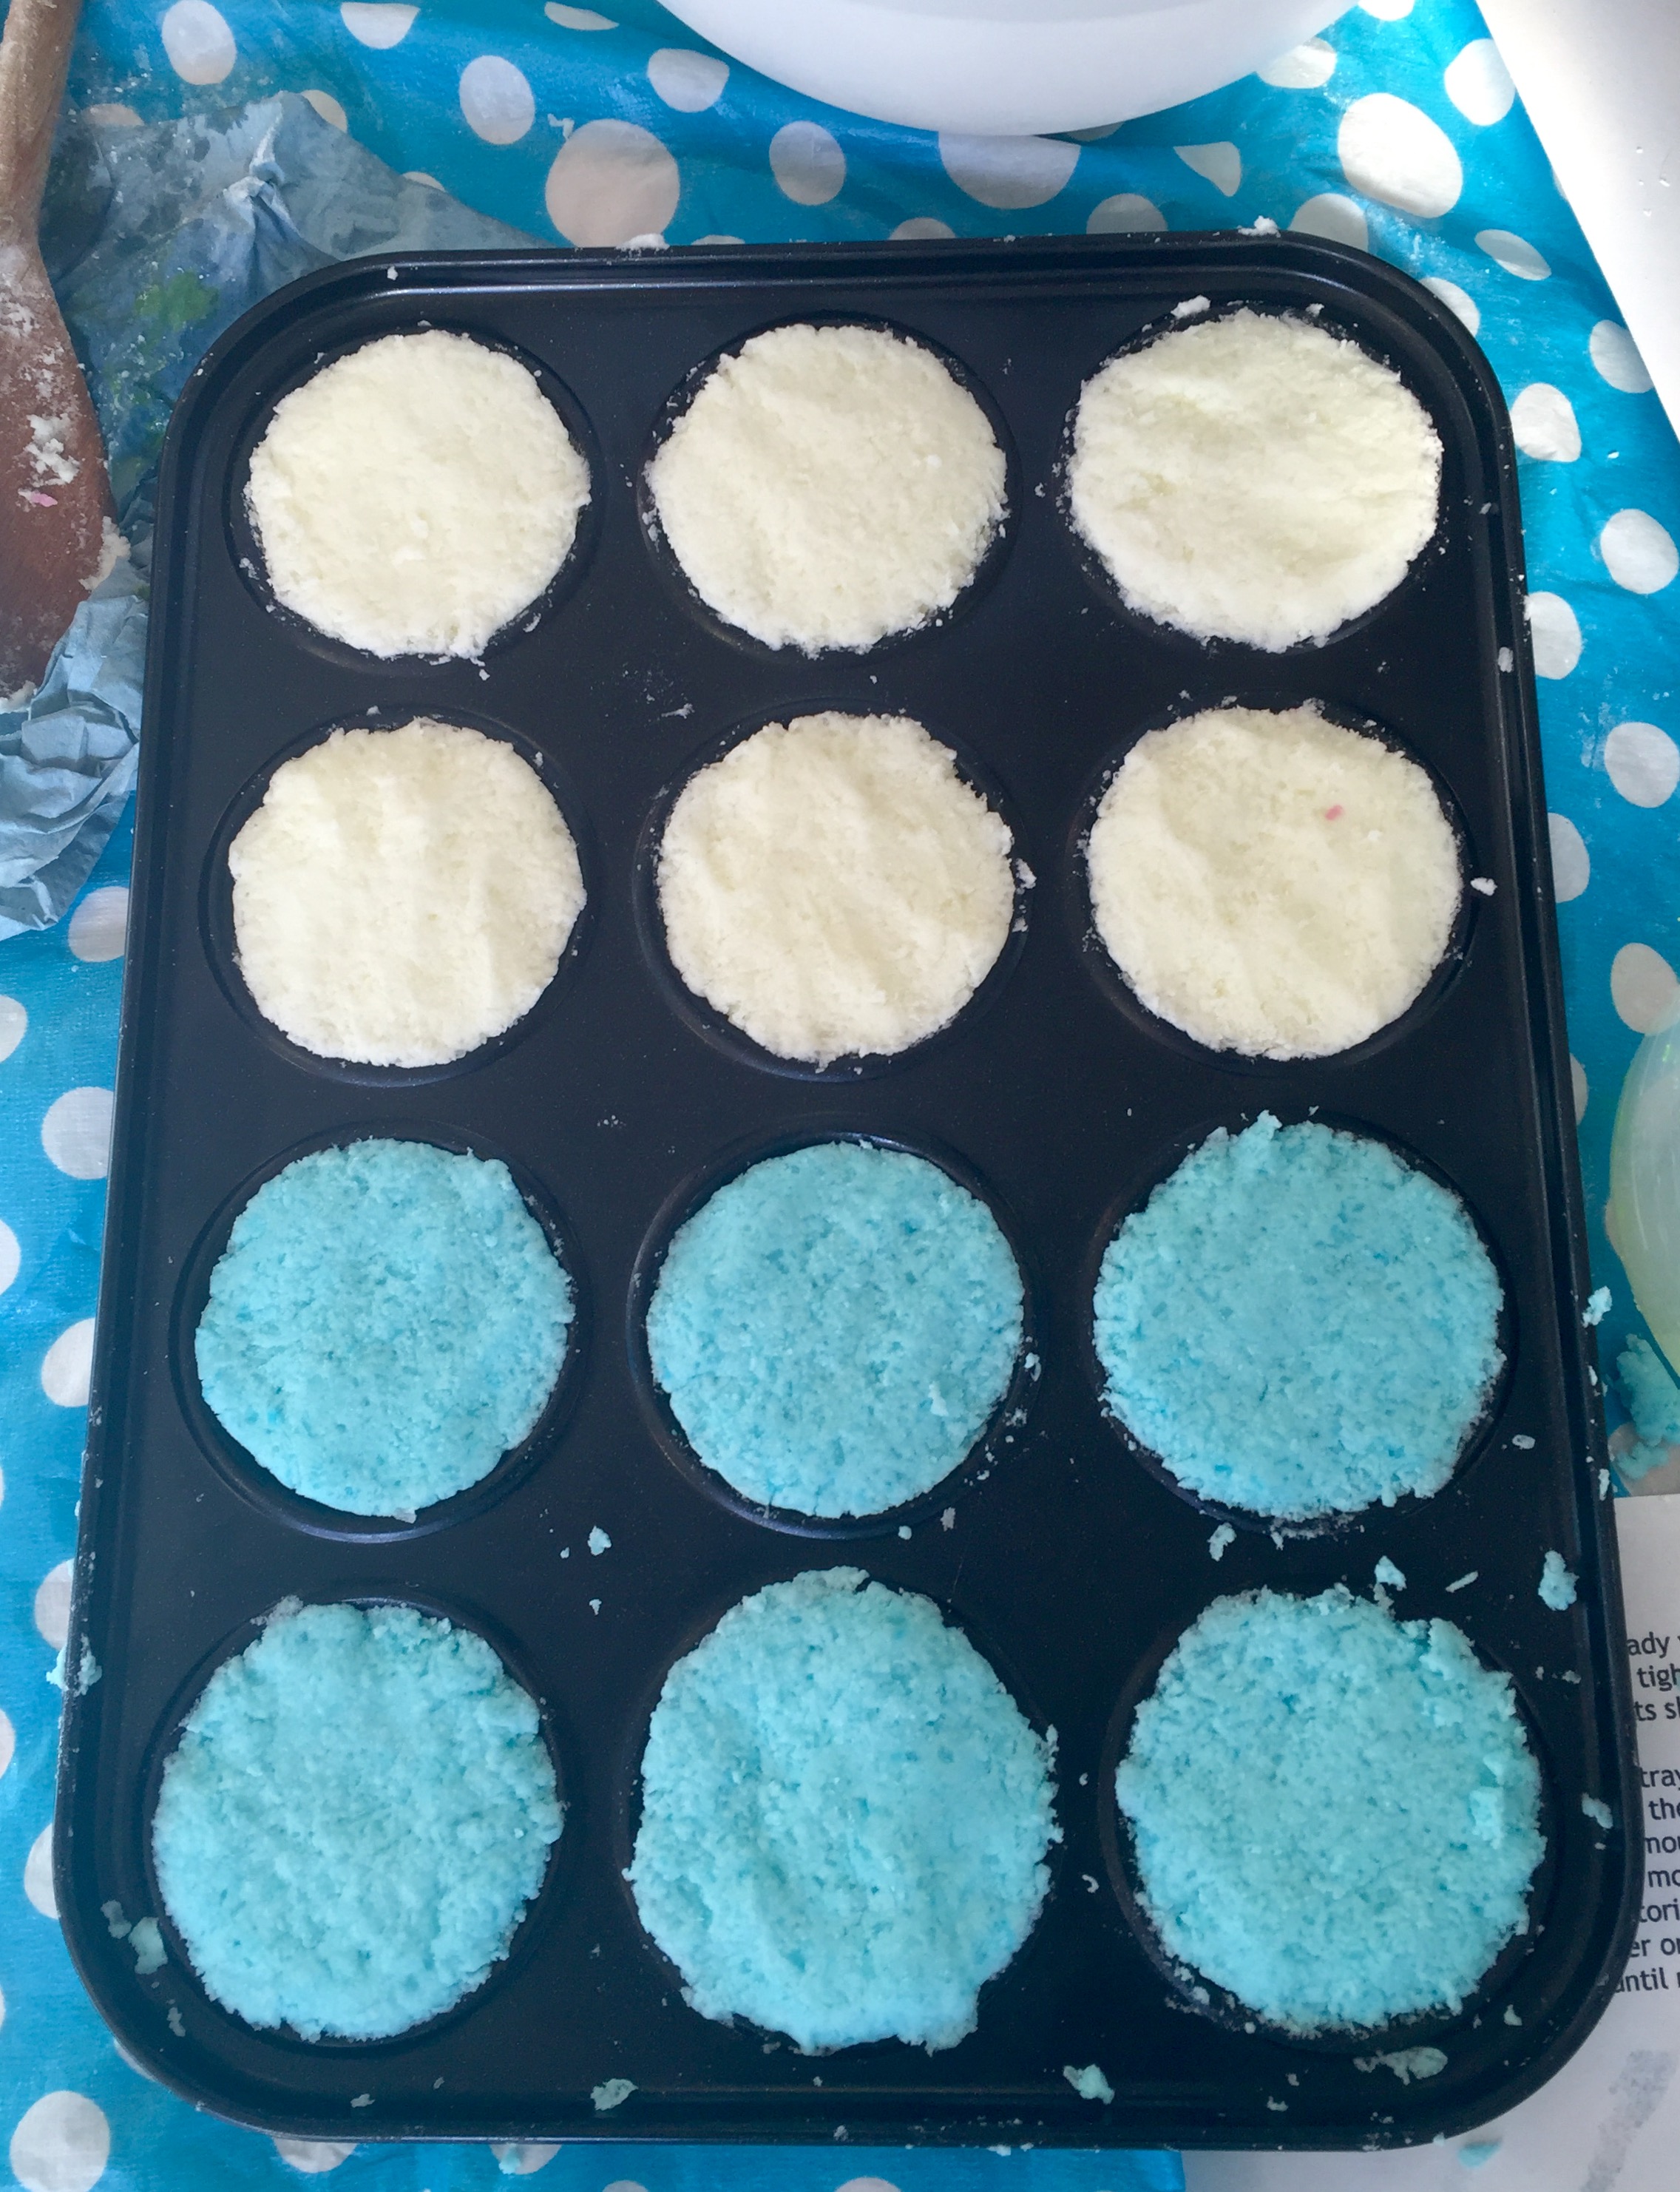
  6. When the mixture is ready you can add it to your moulds, trays or containers. Make sure to pack it in tightly to the mould, tray or container or the mixture will crumble and not hold its shape.
  7. Leave the moulds or trays for at least an hour and then remove. f using silicone moulds, leave your bath fizzies in over night and then take them out of the moulds.
  8. When packaging or storing your bath fizzies make sure that they are not kept in an air tight container or they will expand or explode. Keep them in a baggie or paper bag or box until ready to be used.


Beetroot Brownies made with Beetroot Jam

 
Beetroot Brownie

Beetroot Brownie

the beetroot brownie ingredients

the beetroot brownie ingredients

 
agave syrup

agave syrup


Last year I started making beetroot jam since I am obsessed with beetroot and probably eat it at least once a day. I did not want the beetroot jam to be overly sweet since the beetroot itself has so much natural sweetness. Last year I had also made a beetroot and black carrot cake that was so moist I immediately started plotting a beetroot preserve that I could have at the ready to add to cakes and brownies for added moisture. For this brownie recipe I endeavored to not add sugar but use only the Smy Goodness Beetroot Jam and a bit of agave syrup. If you do not have any beetroot jam to hand you can peel and boil 2 medium beetroot, allow to cool and grate into 4 tbsp of agave syrup. It was an experiment that I am pleased was successful. The resulting brownies were moist, rich, dense, not too sweet, with a perfect shiny brownie crust and had an additional texture pop of beetroot that will have me coming back to this recipe in the near future.

Beetroot Brownie Ingredients

  • 275g Smy Goodness Beetroot Jam (*If you do not have any beetroot jam to hand you can peel and boil 2 medium beetroot, allow to cool and grate into 4 tbsp of agave syrup. If you do not have agave syrup you can use 100g of caster sugar)
  • 200g organic plain flour
  • 200g organic butter
  • 3 eggs
  • 50g organic cocoa powder
  • 30g walnuts roughly chopped
  • 1 Tbsp agave syrup (*use 1 Tbsp caster sugar if you do not have agave syrup)
  • 1 tsp organic vanilla bean extract
  • pinch fine sea salt

Beetroot Brownie Instructions

  1. Preheat the oven to 180°C/200°C fan assisted.
  2. Prepare a 20cm x 20cm square tin with baking paper.
  3. Cream the butter and the beetroot jam (*If you do not have any beetroot jam to hand you can peel and boil 2 medium beetroot, allow to cool and grate into 4 tbsp of agave syrup. If you do not have agave syrup you can use 100g of caster sugar).
  4. Add the eggs to the mixture and blend thoroughly.
  5. Add the cocoa to the mixture and blend thoroughly.
  6. Add 1 Tbsp agave syrup to the mixture and blend thoroughly (*use 1 Tbsp caster sugar if you do not have agave syrup).
  7. Add the walnuts to the mixture and blend thoroughly.
  8. Spread the mixture evenly into the tin lined with baking paper.
  9. Place in the middle of the oven for 30-35 minutes. Do not allow the top to burn. Test the middle of the brownies with a toothpick, if it comes out clean it is ready.
  10. Use the baking paper to remove the brownies from the tin and allow to cool on a cooling rack. Slice into desired sized brownies and enjoy.
creaming the beetroot jam and butter

creaming the beetroot jam and butter

adding the eggs to the mixture

adding the eggs to the mixture

adding the organic cocoa to the mixture

adding the organic cocoa to the mixture

adding the agave syrup to the mixture

adding the agave syrup to the mixture

brownies about to go in the oven

brownies about to go in the oven

baked brownies

baked brownies


Burger & Veggie Burgers - Wk 6 - Healthy Eating Fast FoodTakeaway Alternatives

 
ingredients for the burgers and sweet potato chips

ingredients for the burgers and sweet potato chips

A burger and chips may be the poster child of the fast food world. Everyone loves burgers and chips in some fashion at one time or another. With McDonald's being so prevalent all over the world burgers and chips have buried themselves into our subconscious so that when we may need something cheap and/or quick and/or naughty they will pop into our minds as an option and/or craving. Burgers range in quality and price and variety and we may be tricked into thinking that a veggie burger is always a healthier option than a meat burger however just like their meaty cousins, veggie burgers range in quality and cost as well.

For this session we handmade our own veggie burgers and meat burgers and opted for a healthier sweet potato chip. What is great about making your own burgers is that you know exactly what is going in to them and you can adapt the recipe to suit your own tastes and preferences. The veggie burgers are made with butter beans but any pulse can be added. Both burgers can be made in advance and frozen which comes in handy for those times when you may not know what to cook or lack inspiration. When freezing the veggie bean burgers you want to freeze them before the flour, egg and breadcrumb stage and save that stage for after they are defrosted. I was guilty of whining to my mother when she made homemade burgers that, "They don't taste the same." I was right but they didn't taste the same because they tasted better and by getting everyone involved in preparing the salad, helping to shape the burgers, offering different toppings and seeing who can build the best burger - a homemade burgers and chips night can be a fun evening for family and friends.

creating the butter bean burgers

creating the butter bean burgers

butter bean burgers

butter bean burgers

Butter Bean Burger Ingredients:
400g can butter beans (*or any pulse) - drained, rinsed and shells removed
30g fresh mozzarella chopped (*or substitute a cheese of your choice)
30g parmesan grated (*or substitute a cheese of your choice)
4 tbsp coconut oil (* or substitute olive oil)
1/2 onion, finely chopped
1 garlic clove, crushed
1 Tbsp sesame seeds
1/2 tsp ground cumin
1/2 tsp ground coriander
1/2 tsp chili powder
handful of chopped parsley
3 tbsp plain flour
1 egg beaten
75g fresh white breadcrumbs
fine sea salt and freshly ground pepper to taste

* use a cheese of your choice or substitute 60 grams of left over mashed potato

Butter Bean Burger Instructions

  1. Use a fork to mash up the beans in a bowl and set aside.
  2. Gently heat the coconut oil in a pan and add the onion and garlic. Cook over a low heat for 4-6 mins, until softened.
  3. Add the onion and garlic mixture into the butter beans and stir.
  4. Add the cheeses, sesame seeds, cumin, coriander, chili and parsley. Shape the mixture into burgers of your desired size, cover and chili for 20 mins.
  5. Set up three plates; one for the flour, one for the beaten egg and one for the breadcrumbs.
  6. Roll each burger in the flour, then the egg and then the breadcrumbs - making sure the burger is coated all over at each stage.
  7. Heat the remaining 2 Tbsp of coconut oil to medium in a non-stick frying pan and add burgers. Cook for 5-7 minutes on each side until golden brown.
  8. Place on a piece of kitchen paper to remove excess oil and serve on their own or with pita bread, rolls or salad.
shaping the beef burgers

shaping the beef burgers

beef burgers and sweet potato chips

beef burgers and sweet potato chips

Beef Burger Ingredients
500g pack extra-lean beef mince
100g fine breadcrumbs
1 onion, minced
3 cloves of garlic minced
1 Tbsp coconut oil
1 Tbsp dijon mustard
1 Tbsp tomato paste
1/2 tsp onion powder
1/2 tsp mixed dried herbs
1/4 tsp chili powder
1/4 tsp sea salt
1/4 tsp freshly cracked black pepper

Beef Burger Instructions

  1. Add all the ingredients in a large bowl and thoroughly mix.
  2. With clean hands shape the mixture into burgers of your desired size and thickness. Place in a single layer on a plate, cover with plastic wrap and put in the fridge for 15 minutes.
  3. Heat 1 Tbsp of coconut oil on a non-stick frying pan and cook for 4-8 minutes on each side until cooked as desired.
  4. Place on a piece of kitchen paper to rest and remove excess oil and serve on their own or with pita bread, rolls or salad.
sweet potato chips

sweet potato chips

blackened sweet potato chips

blackened sweet potato chips

Blackened Sweet Potato Chips Ingredients*
4 medium sweet potatoes, cut into chips size and width of a pinkie finger
1 Tbsp coconut oil
pinch smoked paprika
pinch chilli flakes
pinch ground cumin
pinch ground coriander
pinch onion salt
pinch garlic salt
pinch cayenne pepper
pinch black pepper
pinch oregano
pinch thyme
pinch of freshly ground black pepper
* omit or add ingredients as desired or available

Blackened Sweet Potato Chips Instructions

  1. Preheat the oven to 220°C/200°C if it's fan assisted.
  2. Cut sweet potatoes into chips roughly the size and width of a pinkie finger.
  3. Add all the dry ingredients and the coconut oil into a bowl and mix together thoroughly.
  4. Add the sweet potato chips to the bowl and mix thoroughly so that the oil and seasoning are dispersed all over the chips.
  5. Place onto two baking trays so that the chips are in a single layer.
  6. Place into a preheated oven and cook for half an hour, turning at the midway point and making sure that they do not burn.
 
our feast of beef burgers, butter bean burgers and blackened sweet potato chips with tomato salad

our feast of beef burgers, butter bean burgers and blackened sweet potato chips with tomato salad


Beetroot Bunches

This little Beetroot Bunches pattern was made from photographs that I took of the cross section of a beetroot and of them in bunches...much like the title suggest. Beetroot are one of my favourite go to veg for juicing, roasting, in salads and in deserts. I love to hear the groans when I tell students that we will be making beetroot brownies; listening to the protestations of how much they are hated and eventually listening to the surprised exclamations of surprise that they are actually enjoying them in brownie form. They really do increase the moistness of cakes and brownies whilst providing healthy sugars. You can see my Beetroot Brownie recipe and post for more details.

Cold Process Soap Making


I've been teaching a six-week Soap Making Course at Wentworth Children's Centre and for weeks 4 and 5 we have been learning the cold press (CP) technique. We could have easily spent the whole six weeks on the CP technique but since part of the course has been family learning and we involved the children of the families there in the activities where it was appropriate for them to do so.

CP equipment (pic from @Wentworth_CC)

CP equipment (pic from @Wentworth_CC)

We had been building up to this session and this was our most technical as well as creative which explains our scales, goggles and gloves. For the first of the CP technique weeks we used the following recipe which I calculated using the fabulous SoapCalc.net:

150g distilled water (or filtered water, then boiled and cooled)
60g lye
160g olive oil
160g coconut oil
40g almond oil
40g castor oil
10 g lavender essential oil


Blending the oils and lye mixes

Blending the oils and lye mixes

Achieving trace

Achieving trace

The saponified soap poured into moulds

The saponified soap poured into moulds

The soaps after 1 week

The soaps after 1 week

Soaps from week 2 with yellow and green dyes

Soaps from week 2 with yellow and green dyes

me with some of our group from the class (pic from @Wentworth_CC)

me with some of our group from the class (pic from @Wentworth_CC)