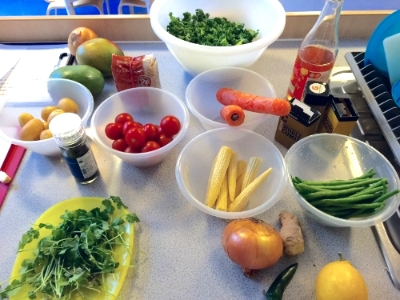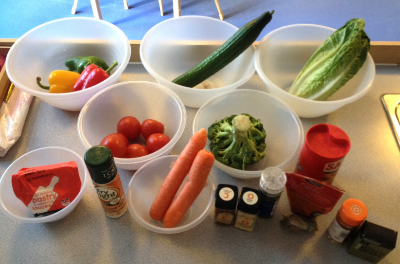
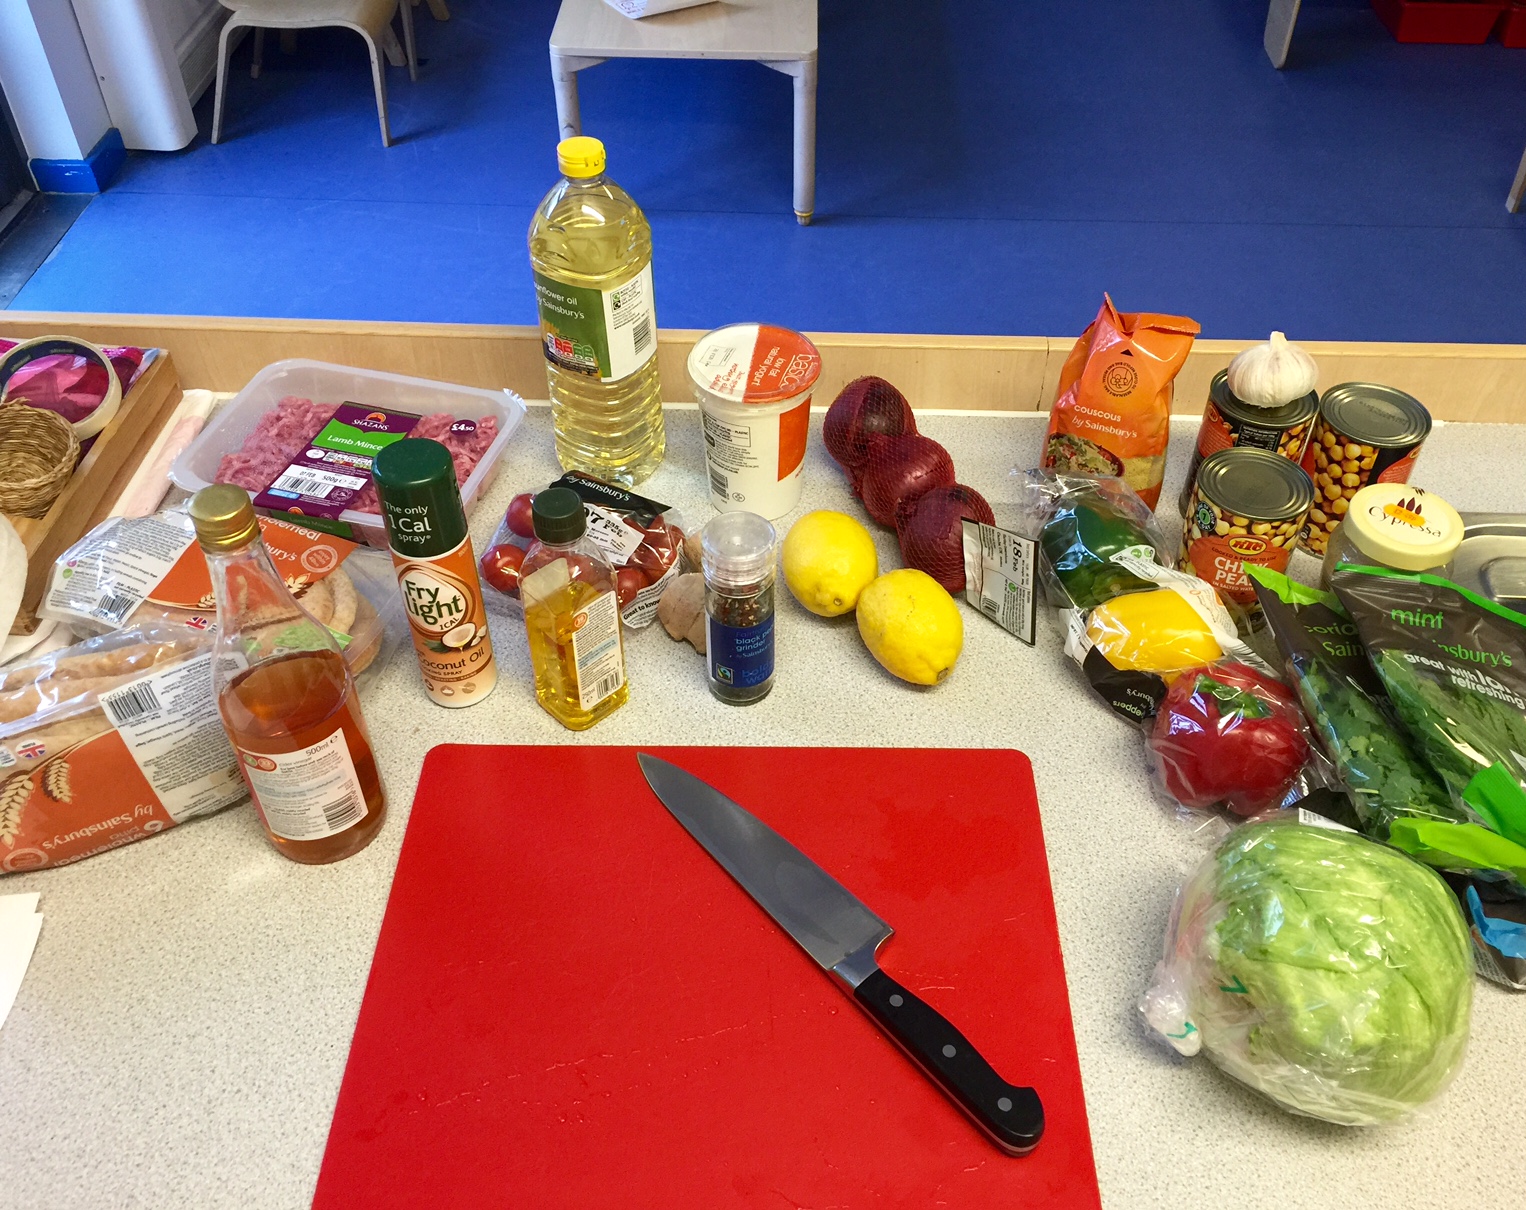
ingredients for the Turkish feast
For week 5 of the Healthy Eating Fast Food Alternatives course we prepared a Turkish feast at Sebright Children's Centre. Each time I run this course the fifth week's menu is chosen by the students. Turkish food is very healthy and very varied but like any food eaten at restaurants it can be full of extra calories and fat. A special thanks is due to Selma who is Turkish and works at Sebright and another very kind Turkish woman who attended the course with her daughters. Together they helped us tweak the recipes and gave us lots of tips. Selma noted that Turkish food often involves a lot of preparation and different stages so we chose these recipes that can be prepared in advance, are cost effective and served with healthy sauces and sides. Selma and Itidal and all the staff at Sebright have been so helpful to myself and the families on the course and they make working at Sebright such a pleasure and I am very thankful for their hard work and support.
For our feast we prepared falafel, lamb kofte, hummous, vegetable cous cous, salad and a homemade mint dressing served with pita bread for 8 adults and 5 children for £15 in two hours.

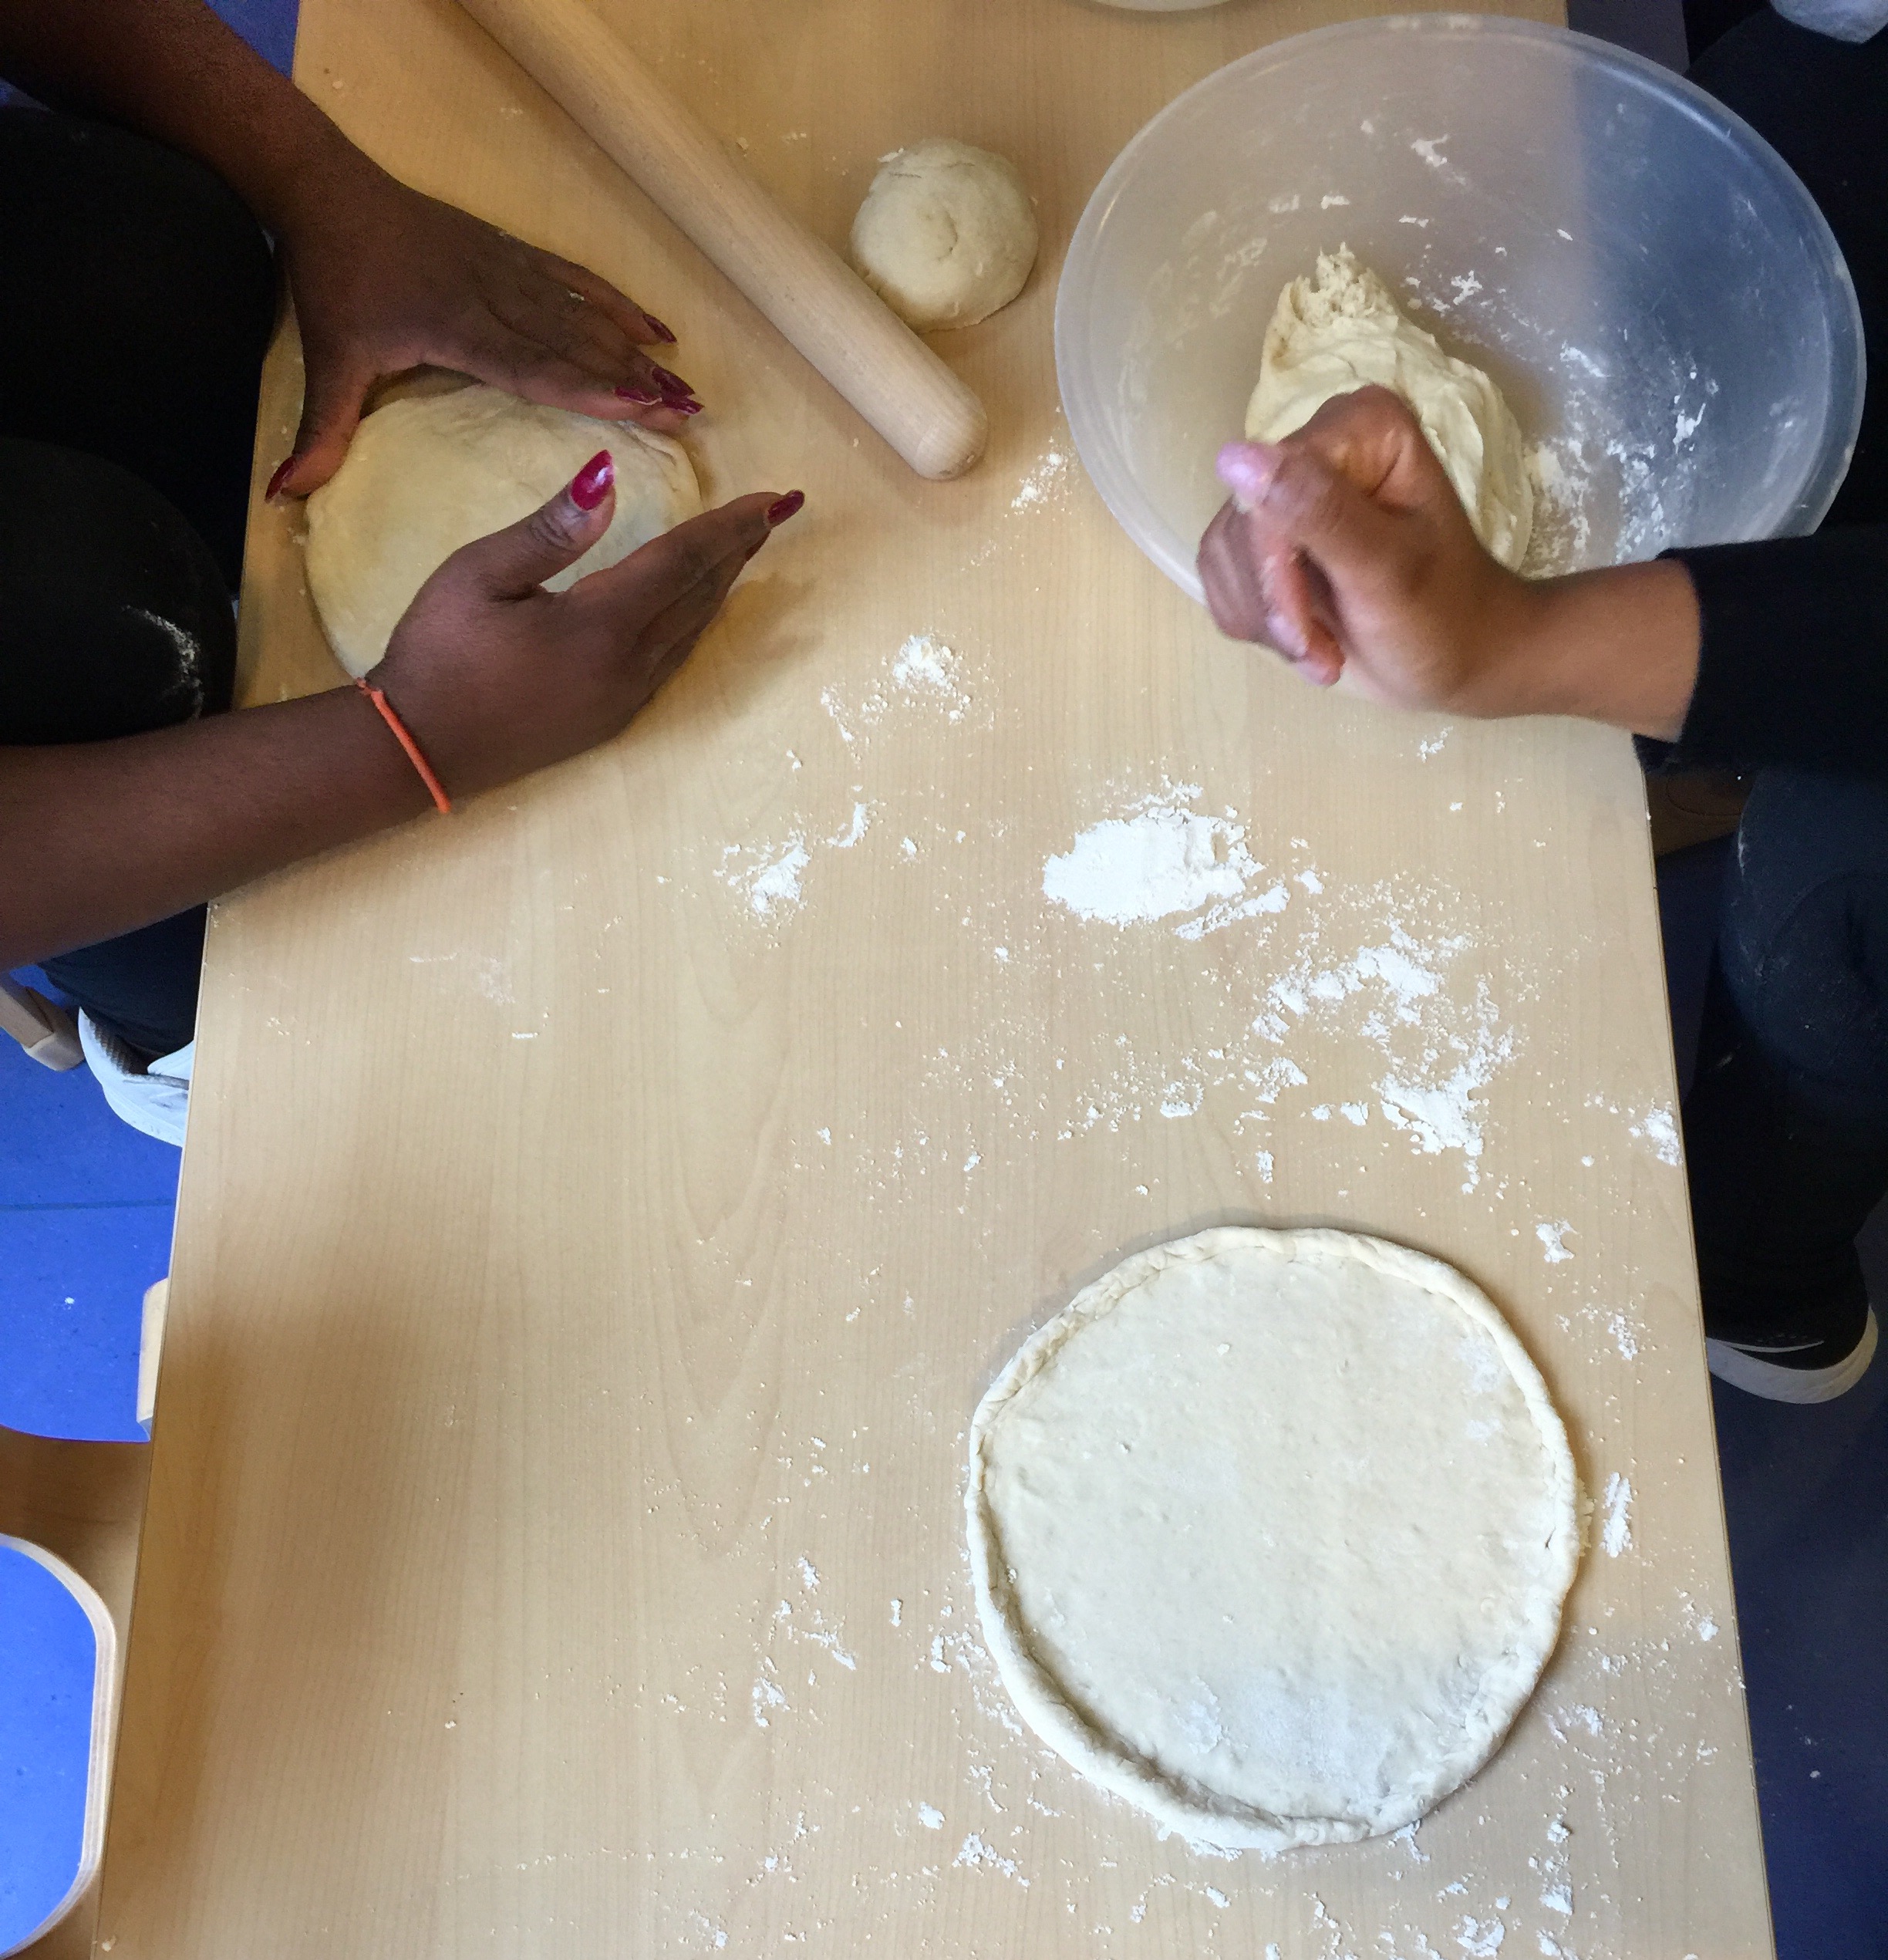
resting uncooked falafel

cooked falafel
Falafel Recipe
400g can chickpea, rinsed and drained
Half a red onion, finely chopped
garlic clove, chopped
handful of fresh parsley
handful of fresh coriander
2 tbsp breadcrumbs
1 tsp paprika
1 tsp ground cumin
1 tsp ground coriander
1⁄2 tsp chilli powder
2 tbsp plain flour
2 tbsp canola oil or coconut oil
toasted pitta bread
lettuce, tomato and various accompaniments as desired
Falafel Instructions
- Rinse the chickpeas and soak them in water and lightly rub the chickpeas with your finger and thumb to remove the shell surrounding each chickpea and then discard shells.
- Blend all the ingredients until they are a smooth consistency. Cover with plastic wrap and allow the mixture to rest for 20-45 minutes, if not longer.
- Heat up your oil to medium hot but be careful to not burn the oil.
- Shape the mixture into golf sized ball shapes and gently flatten a bit using wet hands so that the mixture does not stick to your hands. Place the balls ready to fry on a plate.
- Fry the falafel balls until they go a deep brown in colour, turn carefully and cook the other side. When they are ready remove and place on a sheet of kitchen towel for a few moments to soap up any excess oil.
- Serve in pita bread or on their own with tomato, lettuce, hummus and other dips and gerkhins, pickled cabbage or other accompaniments.
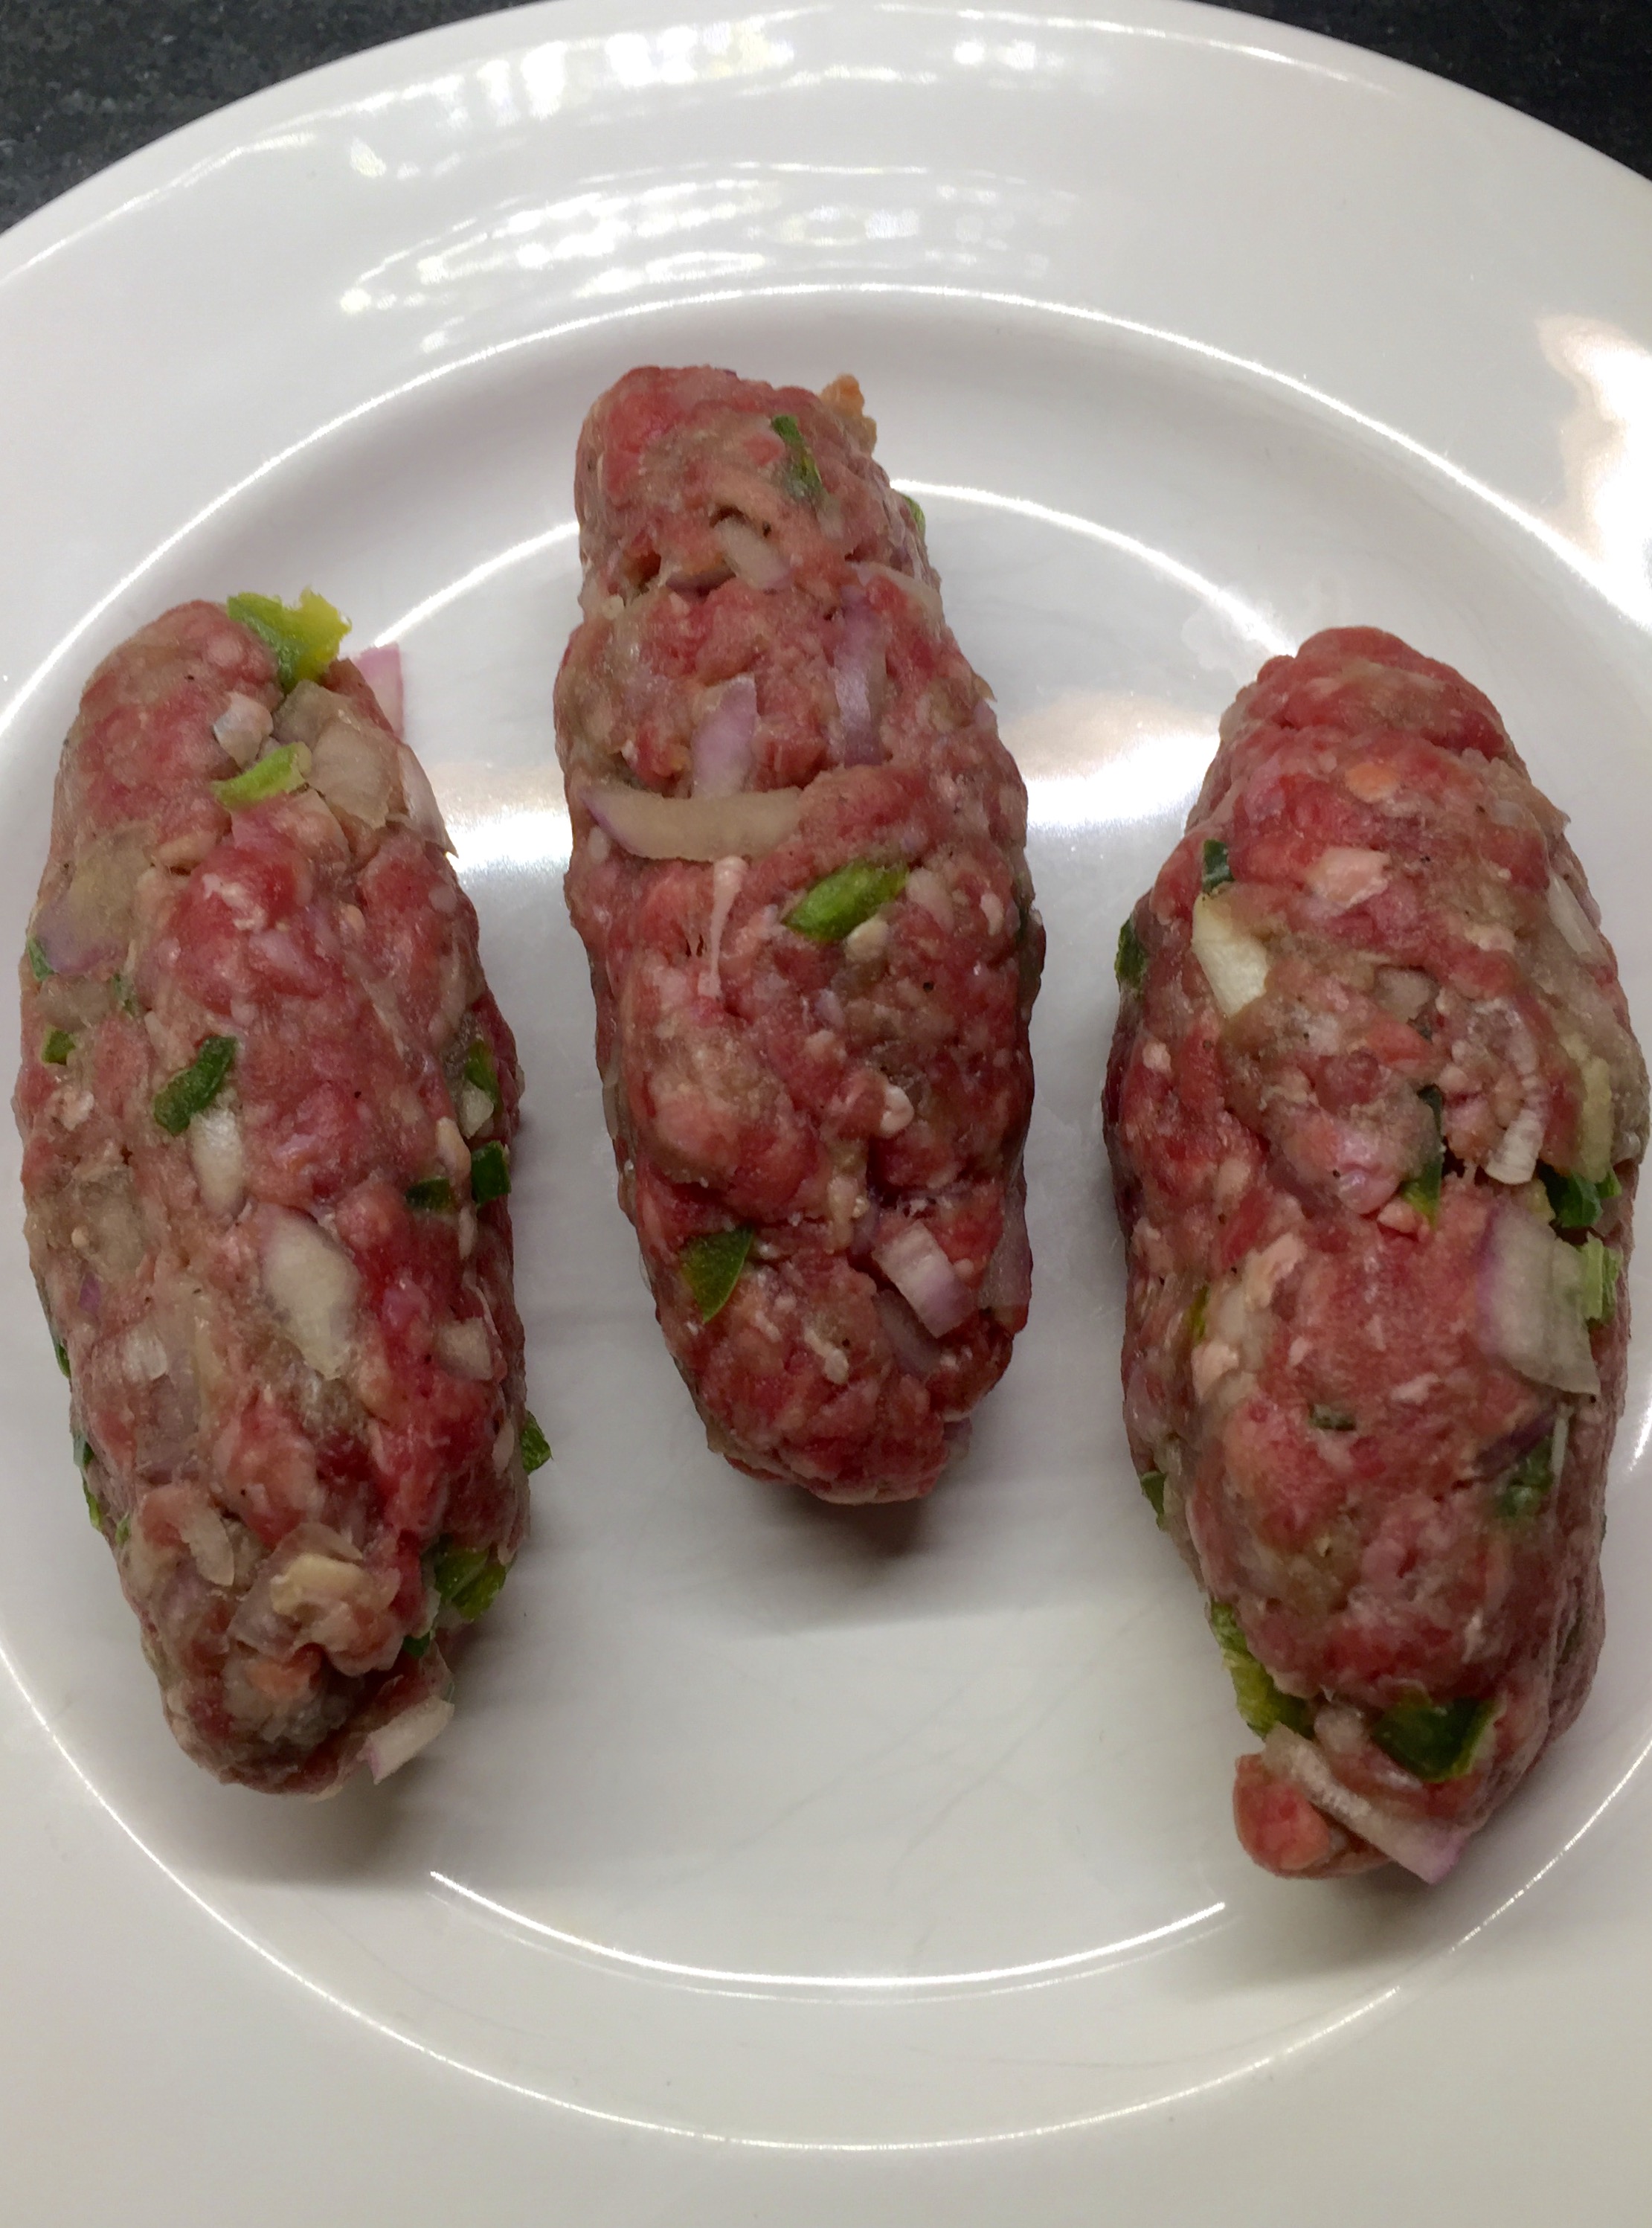
uncooked kofte
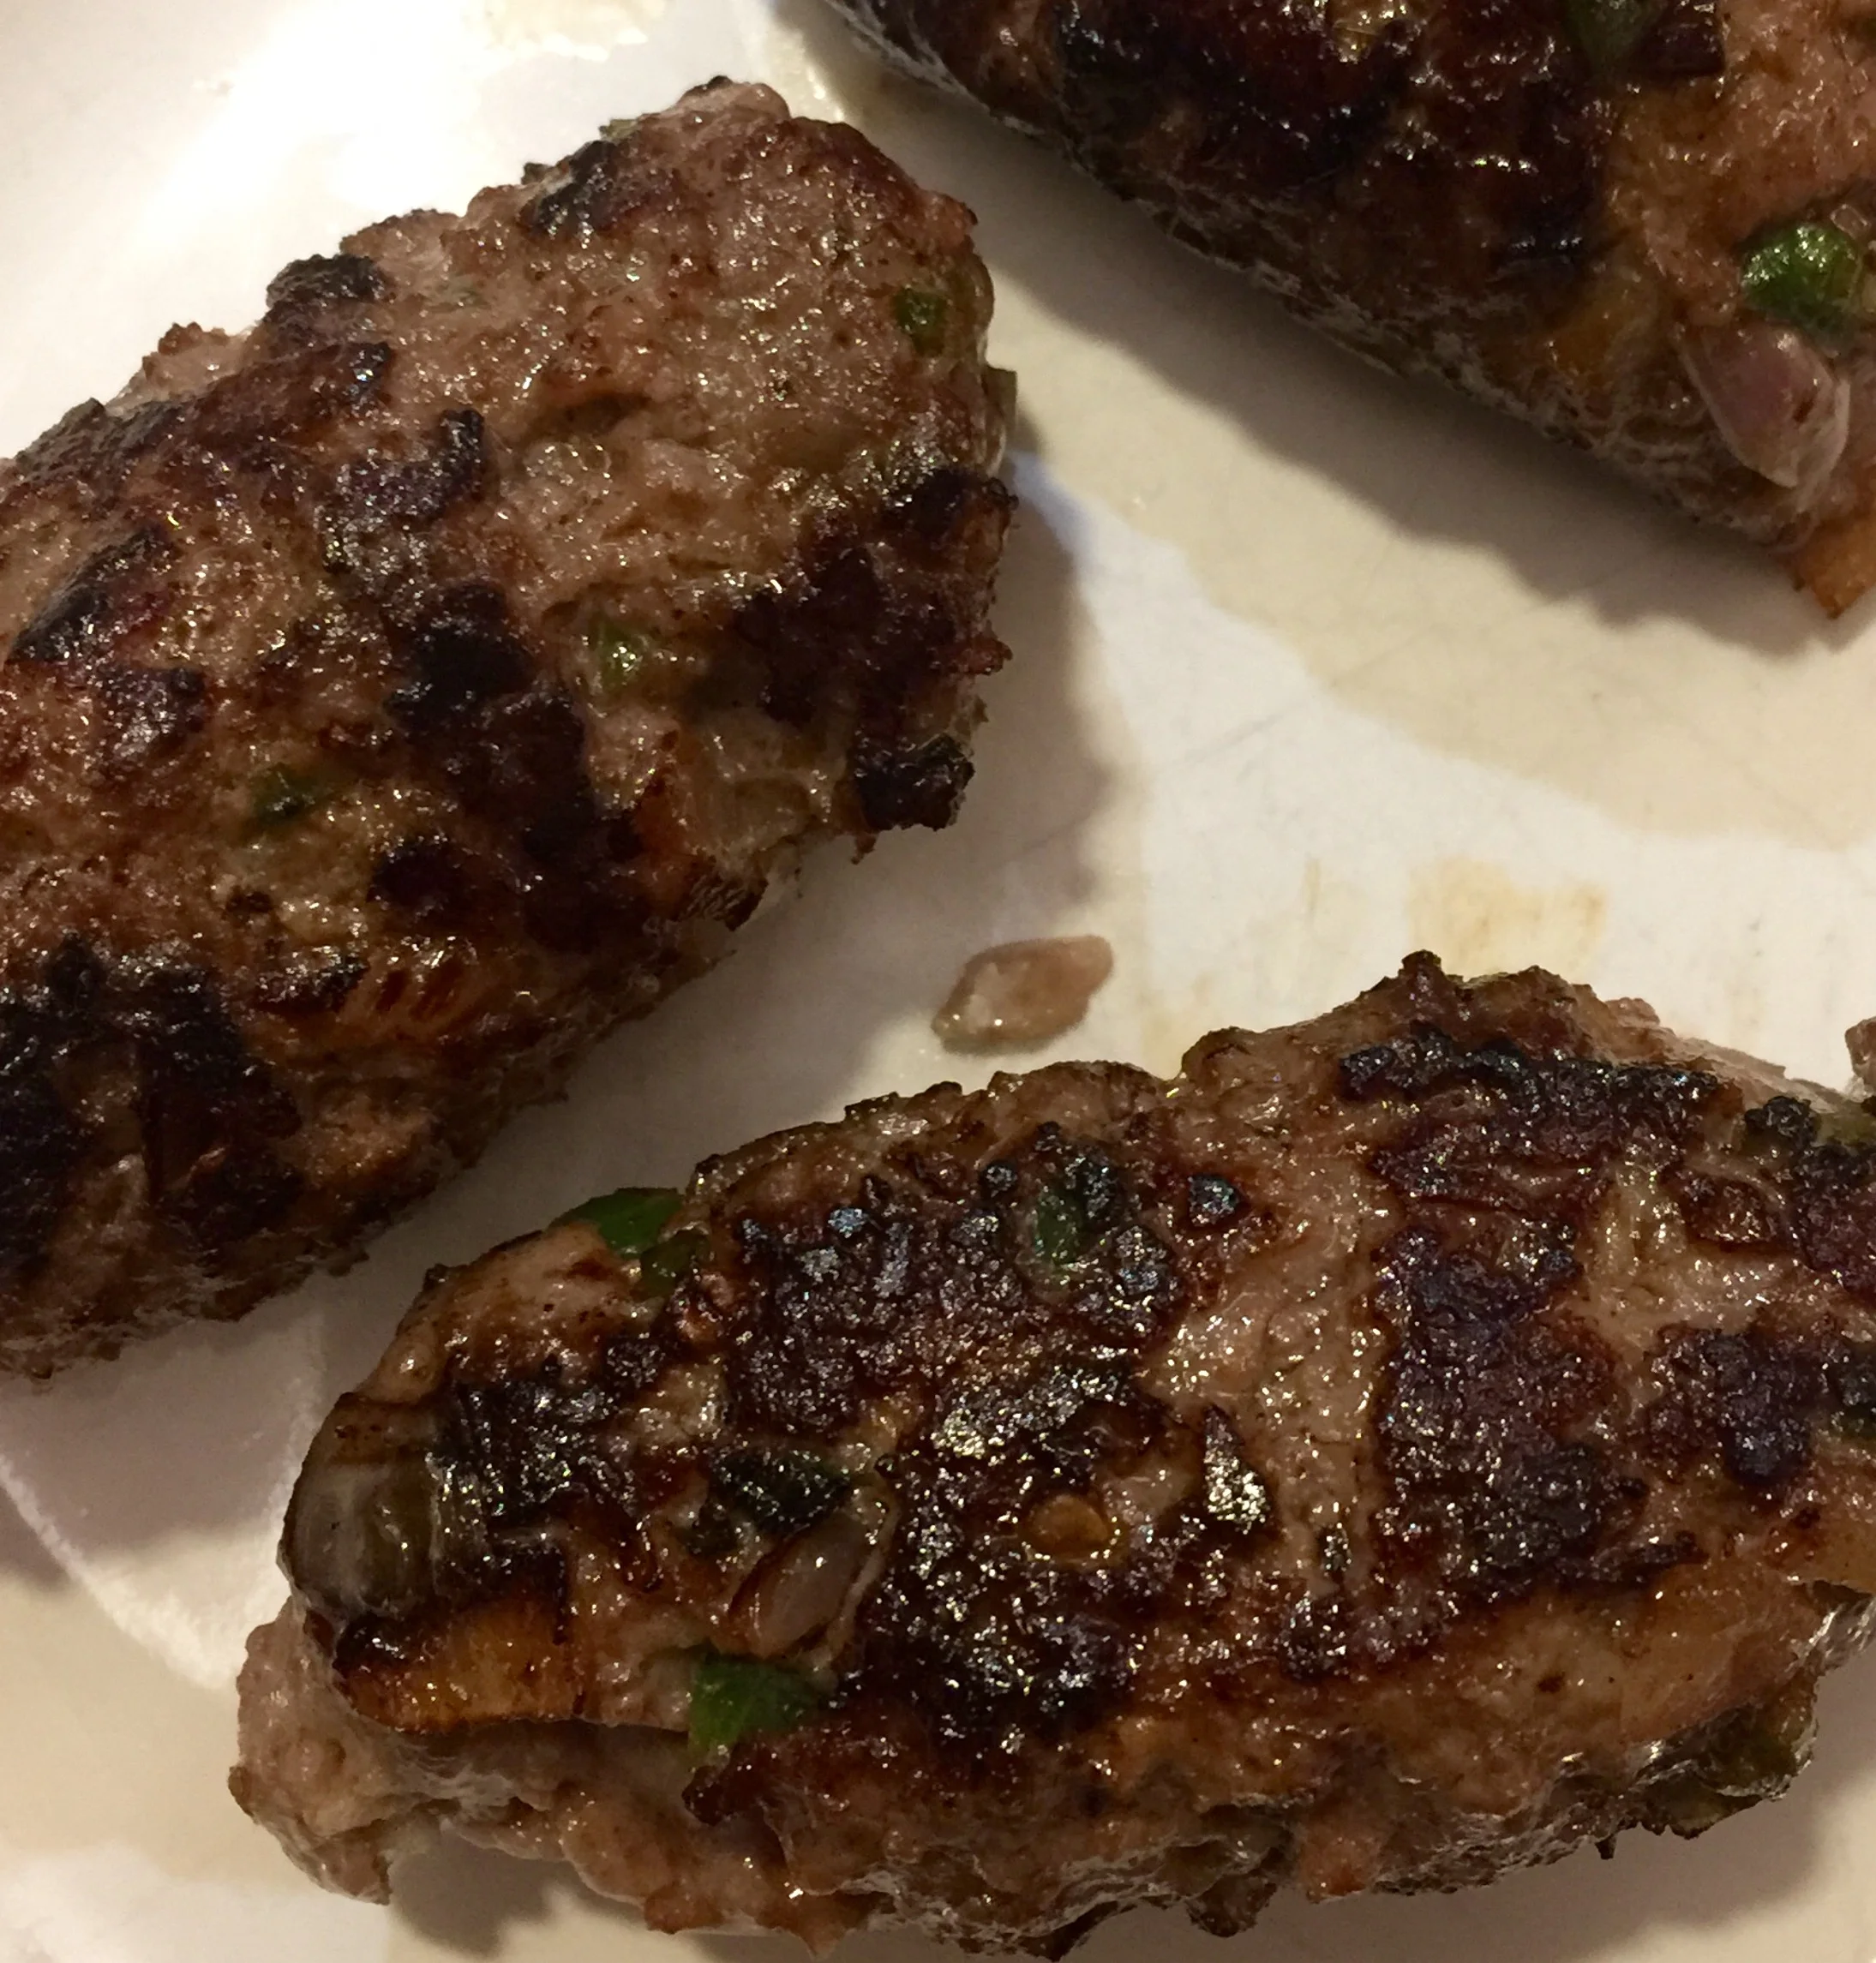
grilled kofte
Lamb Kofte Recipe
Ingredients
1 garlic clove, crushed
2 tbsp chopped mint
500g lean lamb mince
1 small red onion finely chopped
1/4 green pepper, cored, deseeded and finely chopped
salt and freshly ground black pepper
Lamb Kofte Instructions
- Mix together the garlic and mint in a bowl, add the lamb and stir well. Cover and leave to marinate in a cool place or the fridge for 10 minutes.
- Shape the mixture into 5 cm long sausage shapes or 3 cm wide round disc shapes and leave to rest covered in a cool place or fridge for 10 minutes.
- Preheat the grill to a hot setting.
- Place the shaped lamb kofte in a single layer on a baking tray and place on the top shelf and cook for 10 minutes, after 10 minutes turn each kofte and cook for another 10 minutes being sure to not burn. Alternatively you can grill the kofte as well for 4-5 minutes on each side until cooked through.
- Serve with mint dressing, cous cous, salad, hummous,e tc.

homemade humous
Hummous Recipe
Ingredients
Two tins (425 grams) chickpeas
Fresh lemon juice, about 1 large lemon
60ml tahini
3 tablespoons olive oil, plus more for serving
1 garlic clove, pressed or finely minced
2 to 3 tablespoons water
1/2 to 1 teaspoon salt, depending on taste
1/2 teaspoon ground cumin
Dash of ground paprika for serving if desired
A sprig of fresh coriander for serving if desired
Hummous Instructions
- Open the tin of chickpeas, drain the liquid and then rinse well with water. Soak the chickpeas in some water and using your fingers and thumb to lightly rub the chickpeas which will release the shells from the chickpea. When all the shells are removed strain the water and keep the chickpeas to the side for the moment.
- In a separate bowl or blender add tahini, lemon juice and the olive oil to a bowl or blender and mix until thoroughly combined. Make sure to scrape the sides down into the mixture and blend/mix again.
- Add the garlic, cumin and salt to the mixture and blend for one minute. Make sure to scrape the sides down into the mixture and blend until thoroughly combined.
- Add the chickpeas in stages to the mixture and blend until combined. Keep blending until the humous is thick and smooth.
- Taste the humous and add any more ingredients until it is of a desired taste and consistency. If the mixture is still not a smooth enough consistency you can add another tablespoon of olive oil or water and then blend again for 1 minute.
- Place the humous into a decorative serving bowl or plate and then garnish with a tablespoon of olive oil, sprinkle with paprika and garnish with a sprig of coriander.
Homemade hummous will last for one week in an airtight container in the fridge.
You can add all sorts of things to hummous to jazz it up, for example roasted garlic, roasted red peppers, chillies and more. You can also use any sort of pulses such as butter beans to make a slightly different type of dip.
If you like a very smooth consistency of hummous you can remove the shells before adding it to the mixture.
For an even more inexpensive hummous you can use dried chickpeas which are cheaper. For this you should soak the chickpeas in water overnight and then cook gently for an hour the next day until soft.

tasty side salad

vegetable cous cous
Vegetable Cous Cous Recipe
Ingredients
500g cous cous
500g organic vegetable stock or one free of MSG or additives
100g tomato diced small
half a red pepper diced small
half a green pepper diced small
half a yellow pepper diced small
handful of fresh parsley
pinch of salt
pinch of freshly cracked pepper
Vegetable Cous Cous Instructions
- Place the couscous in a heatproof bowl, pour 500ml/18fl oz of vegetable stock over the couscous. Leave to stand until the liquid has been absorbed. Season with salt and pepper and fluff the couscous with a fork. Set aside until all the liquid is absorbed, about 15-20 minutes.
- Add all the remaining ingredient and stir until combined. Any diced vegetables can be added to make a tasty cous cous salad.
- Transfer to a serving bowl and garnish with some larger slices of vegetables like peppers or tomatoes and serve.
Basic Mint Dressing
Ingredients
one bunch of mint
1/4 tsp fine sea salt
4 tbsp boiling water
4 tbsp cider vinegar
1 level tbsp sugar or agave syrup
Basic Mint Dressing Instructions
- Separate the stems from the mint leaves and discard the stems.
- Gently rub the salt into the mint leaves sprinkle and chop into roughly .5-1 cm pieces.
- Add the leaves to a heatproof bowl then stir in the sugar or agave syrup.
- Top the mint with the freshly boiled water while stirring thoroughly and then leave to cool.
- Once the mixture is cool, stir in the cider vinegar.
- Add more water or vinegar and adjust seasoning to suit your taste.
The dressing can be added to vegetables, salads, meat and fish.

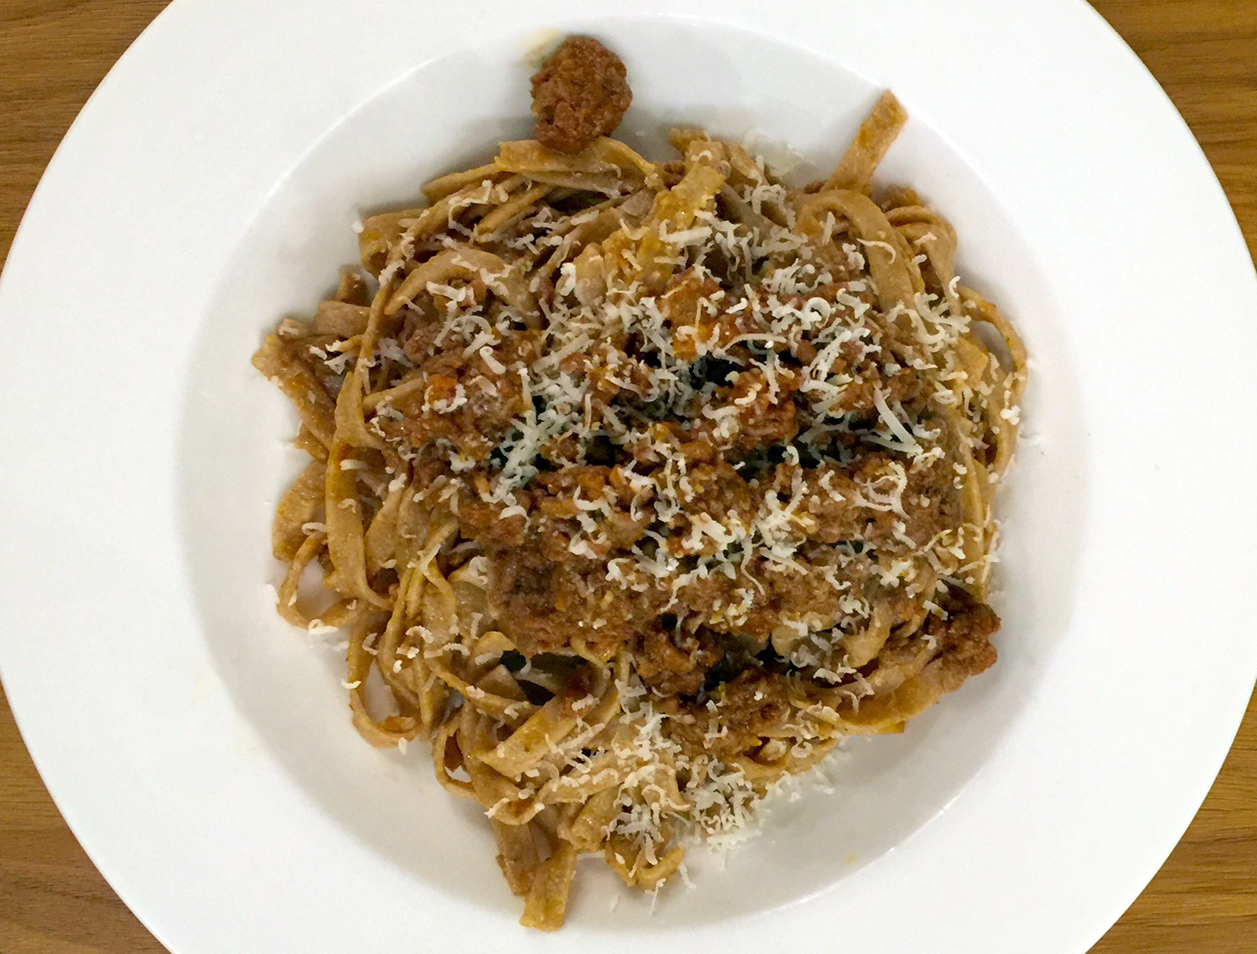
sitting down to enjoy our meal