
Beetroot Brownie

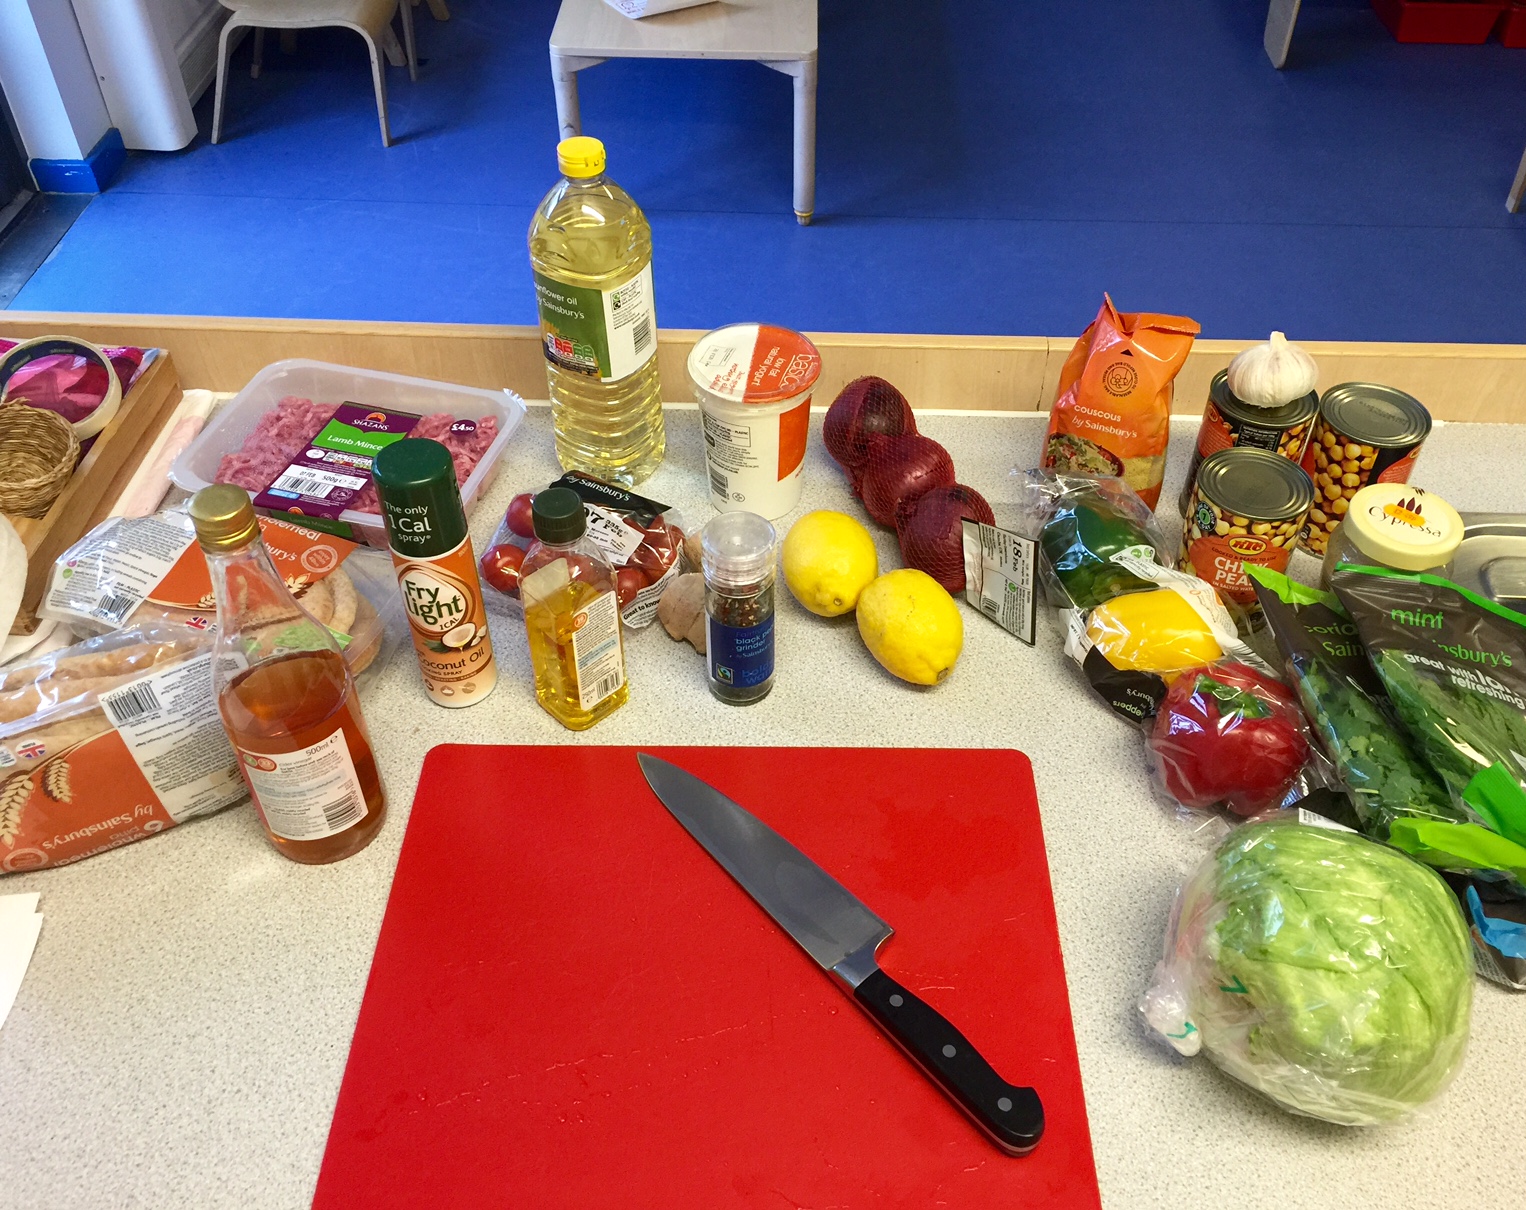
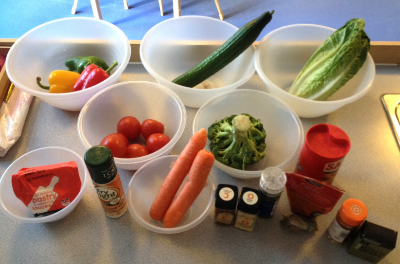
the beetroot brownie ingredients
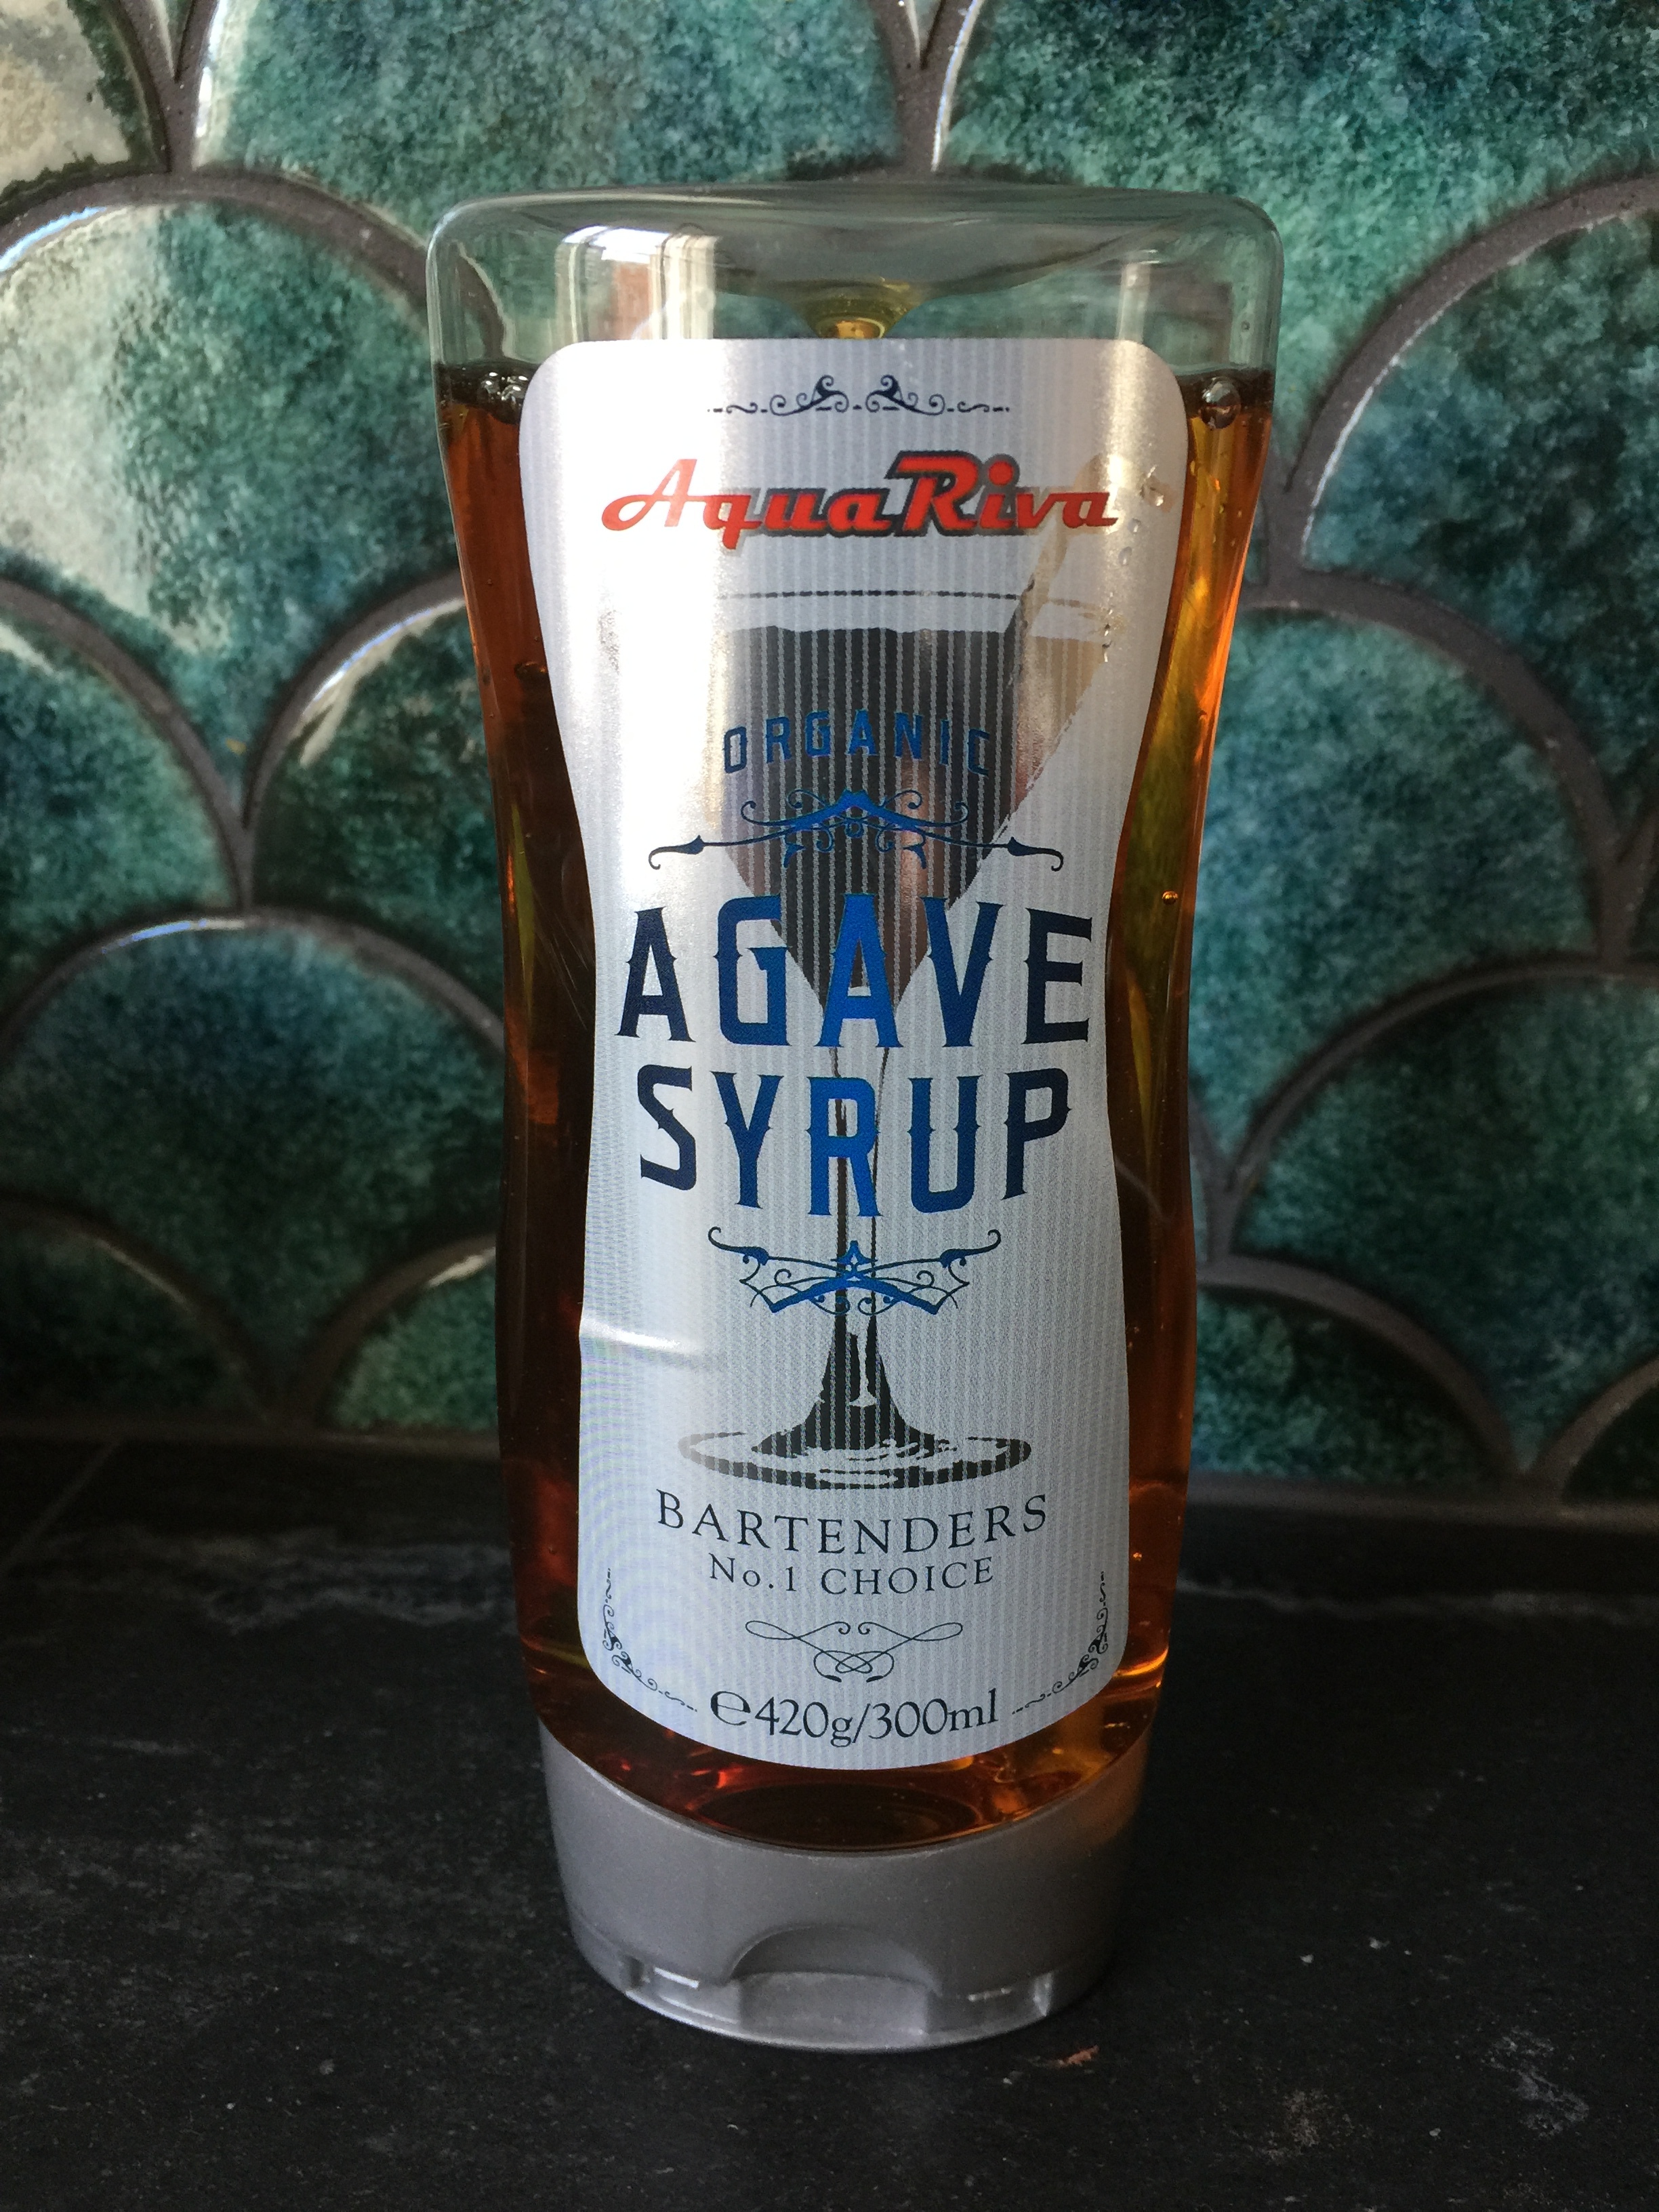
agave syrup
Last year I started making beetroot jam since I am obsessed with beetroot and probably eat it at least once a day. I did not want the beetroot jam to be overly sweet since the beetroot itself has so much natural sweetness. Last year I had also made a beetroot and black carrot cake that was so moist I immediately started plotting a beetroot preserve that I could have at the ready to add to cakes and brownies for added moisture. For this brownie recipe I endeavored to not add sugar but use only the Smy Goodness Beetroot Jam and a bit of agave syrup. If you do not have any beetroot jam to hand you can peel and boil 2 medium beetroot, allow to cool and grate into 4 tbsp of agave syrup. It was an experiment that I am pleased was successful. The resulting brownies were moist, rich, dense, not too sweet, with a perfect shiny brownie crust and had an additional texture pop of beetroot that will have me coming back to this recipe in the near future.
Beetroot Brownie Ingredients
- 275g Smy Goodness Beetroot Jam (*If you do not have any beetroot jam to hand you can peel and boil 2 medium beetroot, allow to cool and grate into 4 tbsp of agave syrup. If you do not have agave syrup you can use 100g of caster sugar)
- 200g organic plain flour
- 200g organic butter
- 3 eggs
- 50g organic cocoa powder
- 30g walnuts roughly chopped
- 1 Tbsp agave syrup (*use 1 Tbsp caster sugar if you do not have agave syrup)
- 1 tsp organic vanilla bean extract
- pinch fine sea salt
Beetroot Brownie Instructions
- Preheat the oven to 180°C/200°C fan assisted.
- Prepare a 20cm x 20cm square tin with baking paper.
- Cream the butter and the beetroot jam (*If you do not have any beetroot jam to hand you can peel and boil 2 medium beetroot, allow to cool and grate into 4 tbsp of agave syrup. If you do not have agave syrup you can use 100g of caster sugar).
- Add the eggs to the mixture and blend thoroughly.
- Add the cocoa to the mixture and blend thoroughly.
- Add 1 Tbsp agave syrup to the mixture and blend thoroughly (*use 1 Tbsp caster sugar if you do not have agave syrup).
- Add the walnuts to the mixture and blend thoroughly.
- Spread the mixture evenly into the tin lined with baking paper.
- Place in the middle of the oven for 30-35 minutes. Do not allow the top to burn. Test the middle of the brownies with a toothpick, if it comes out clean it is ready.
- Use the baking paper to remove the brownies from the tin and allow to cool on a cooling rack. Slice into desired sized brownies and enjoy.
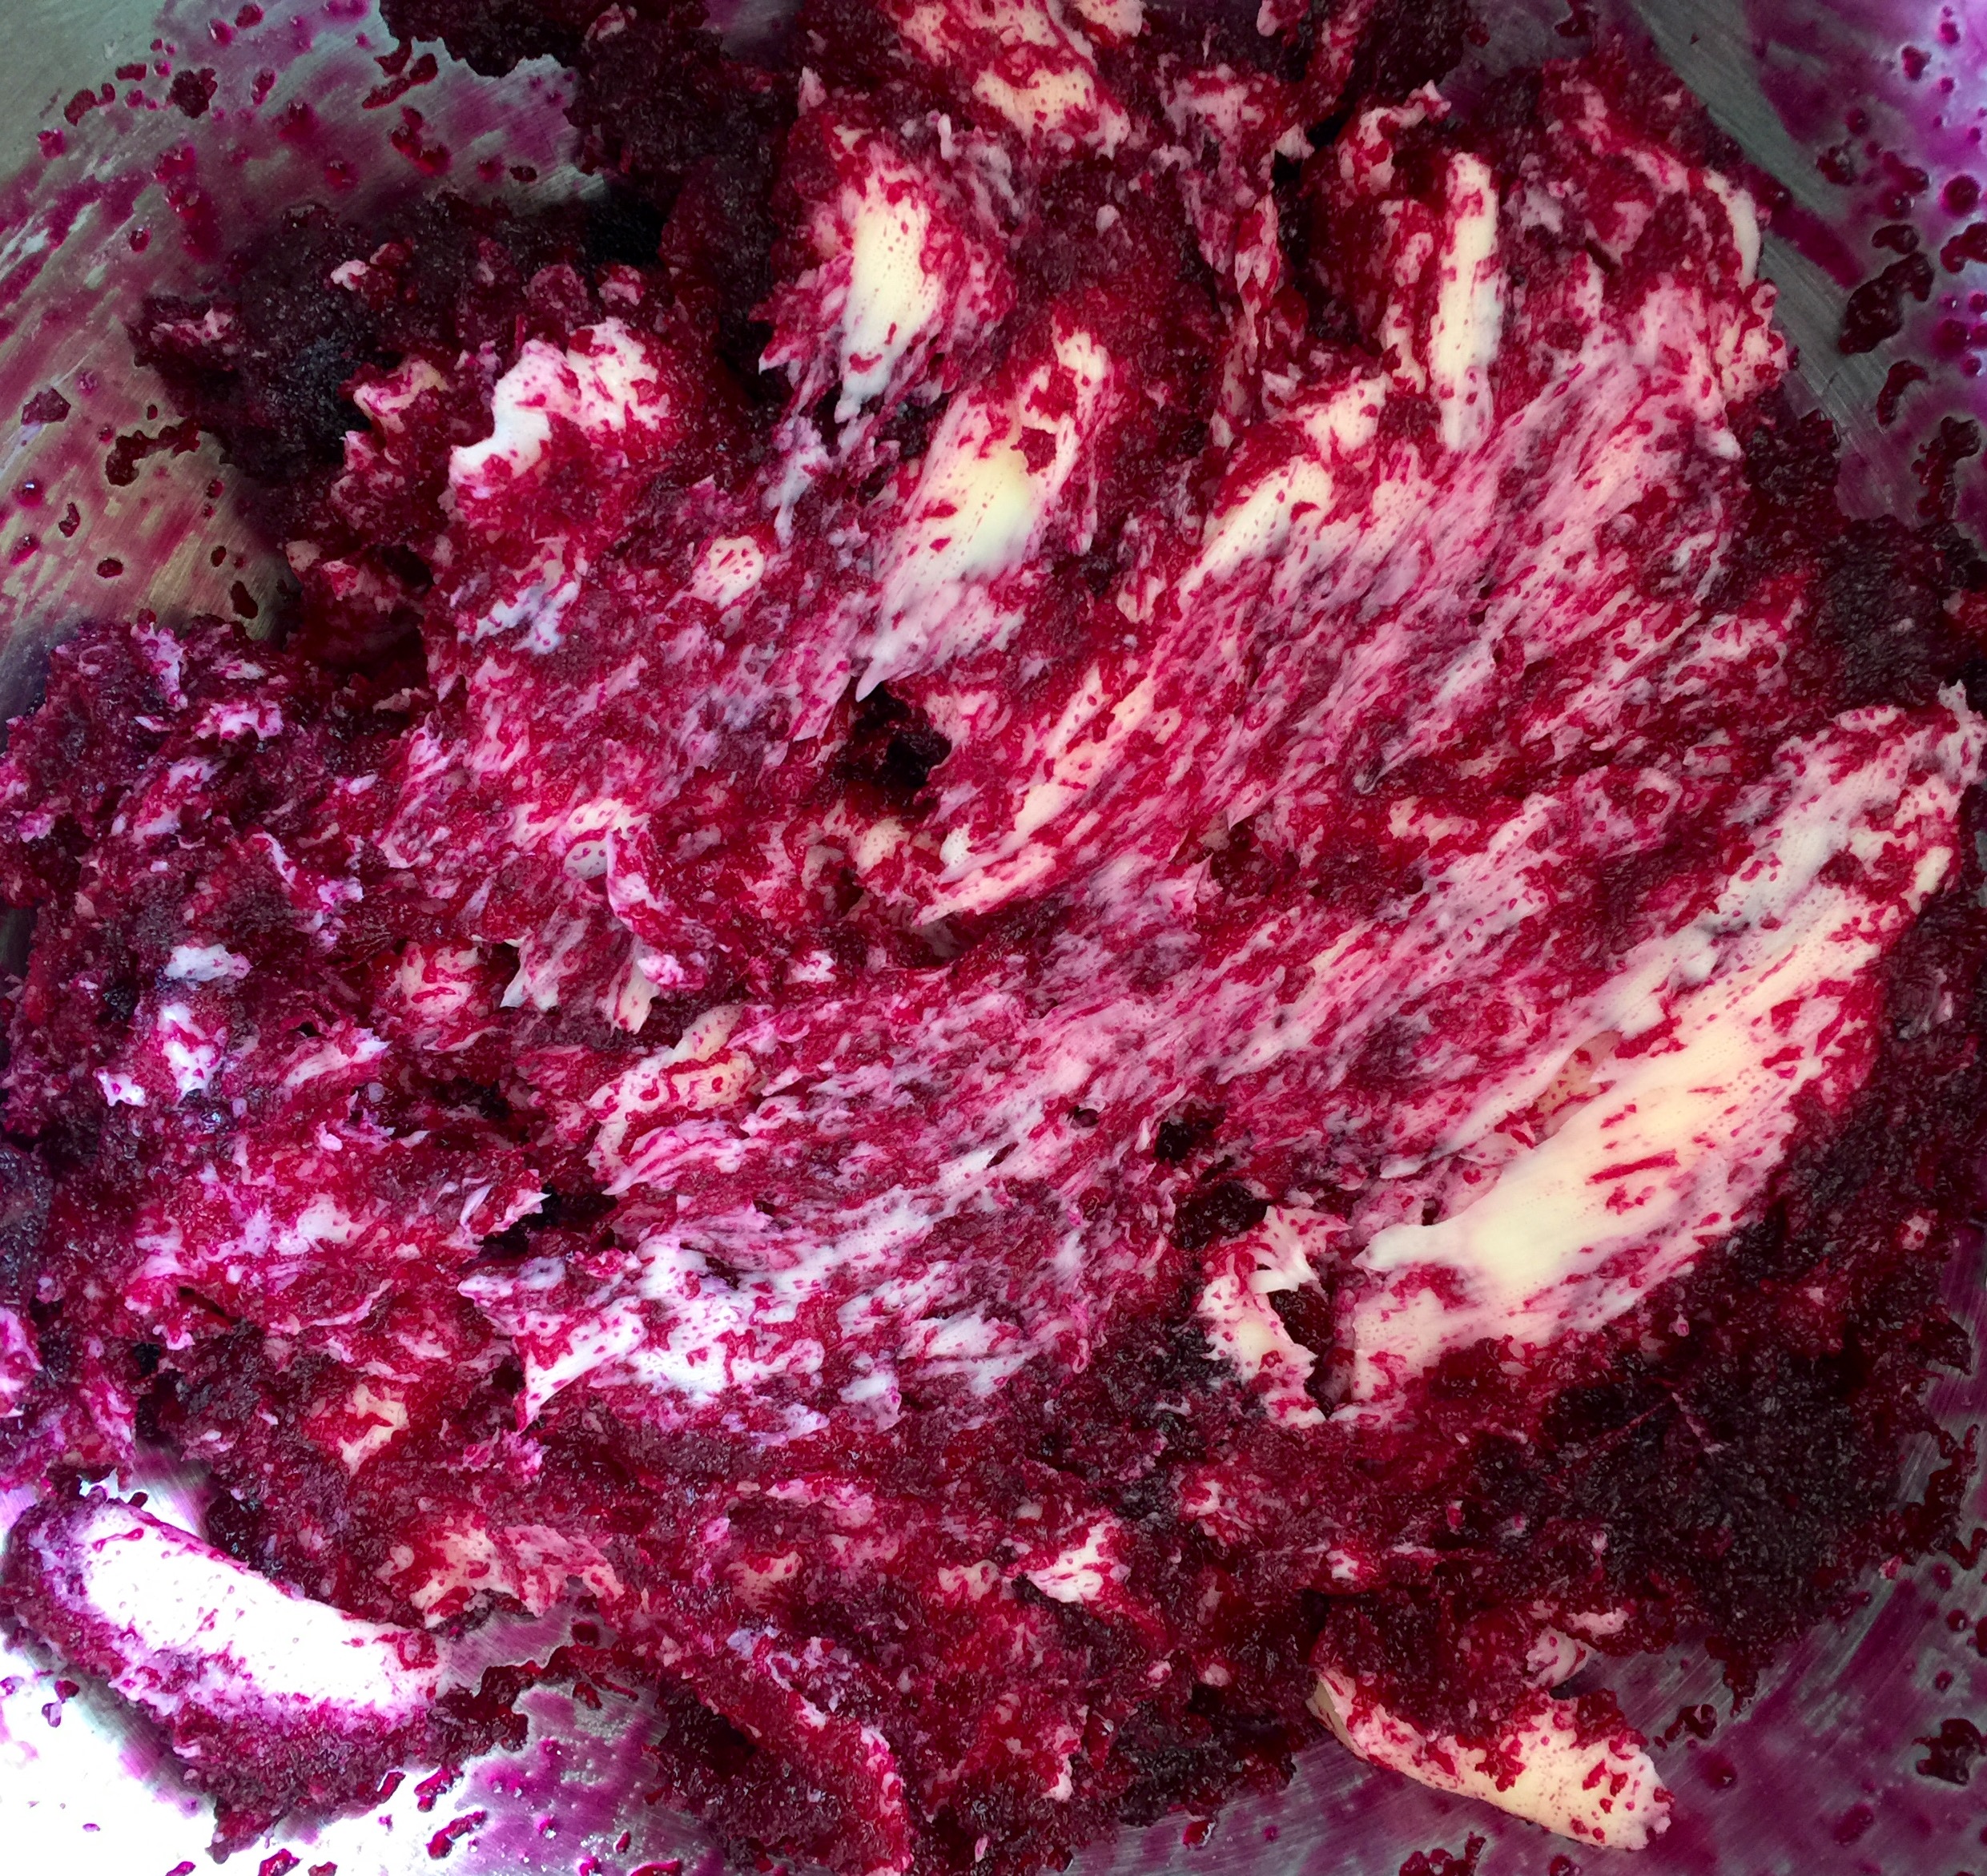
creaming the beetroot jam and butter
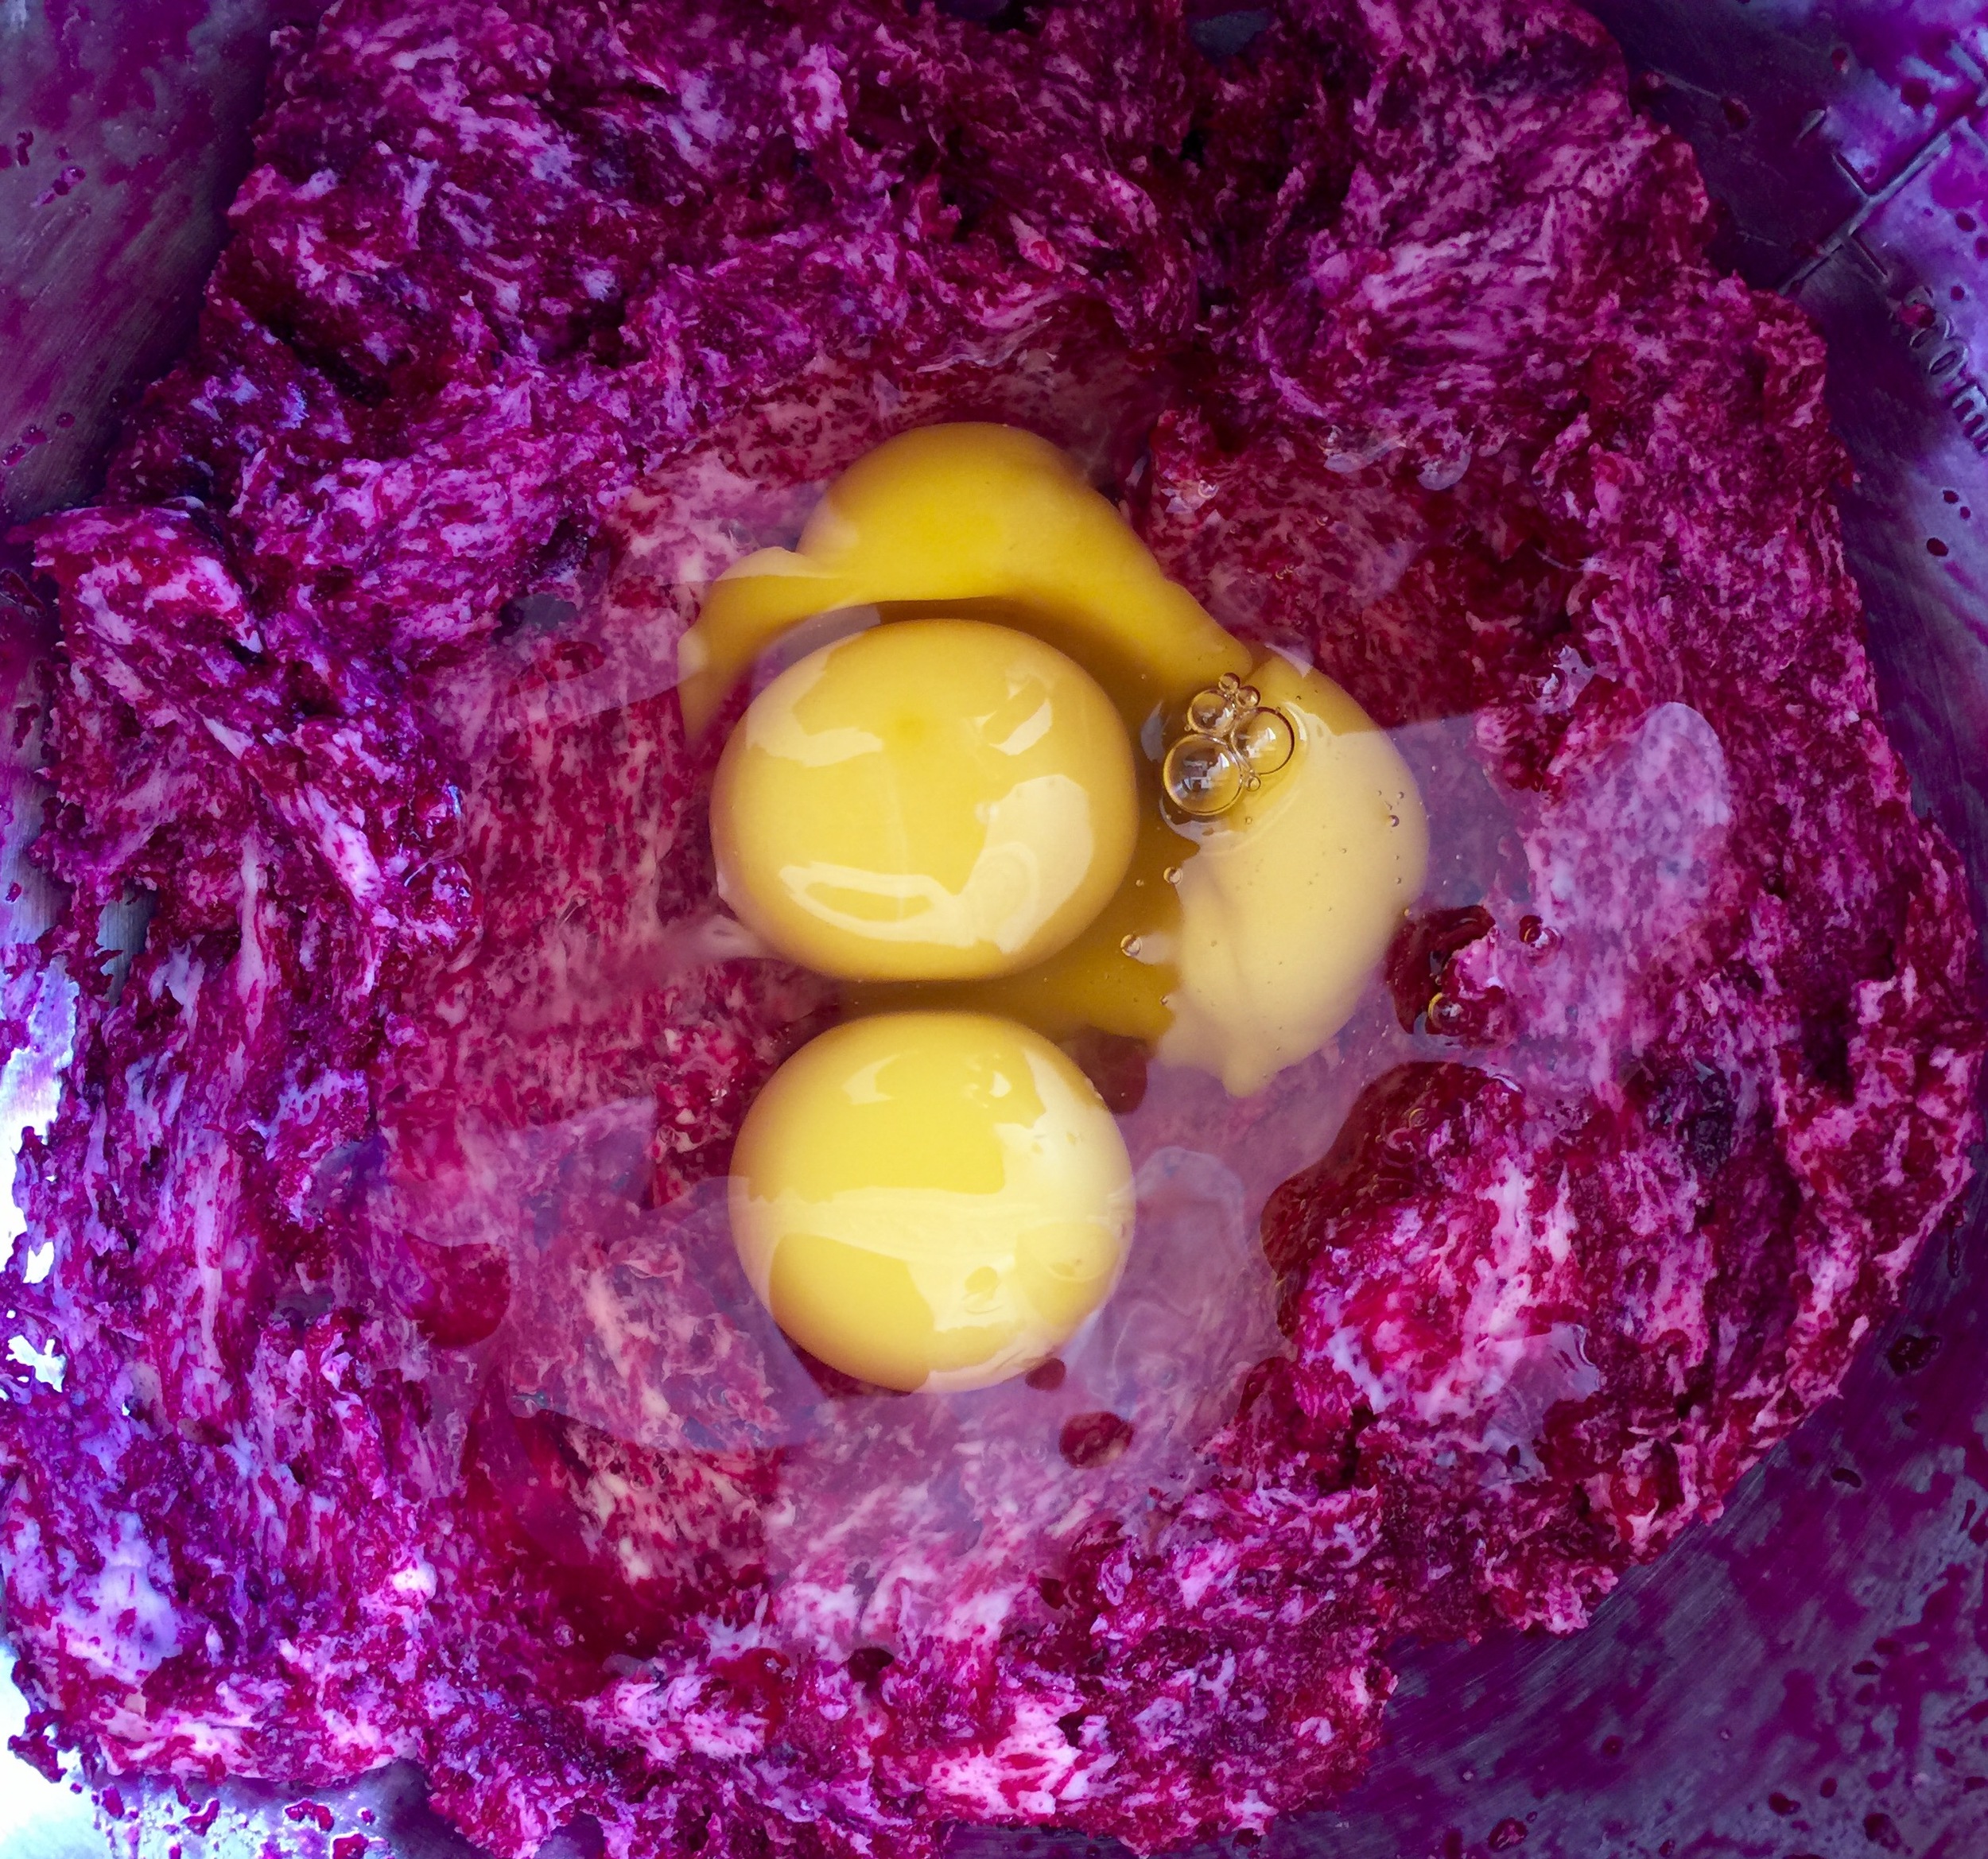
adding the eggs to the mixture

adding the organic cocoa to the mixture

adding the agave syrup to the mixture
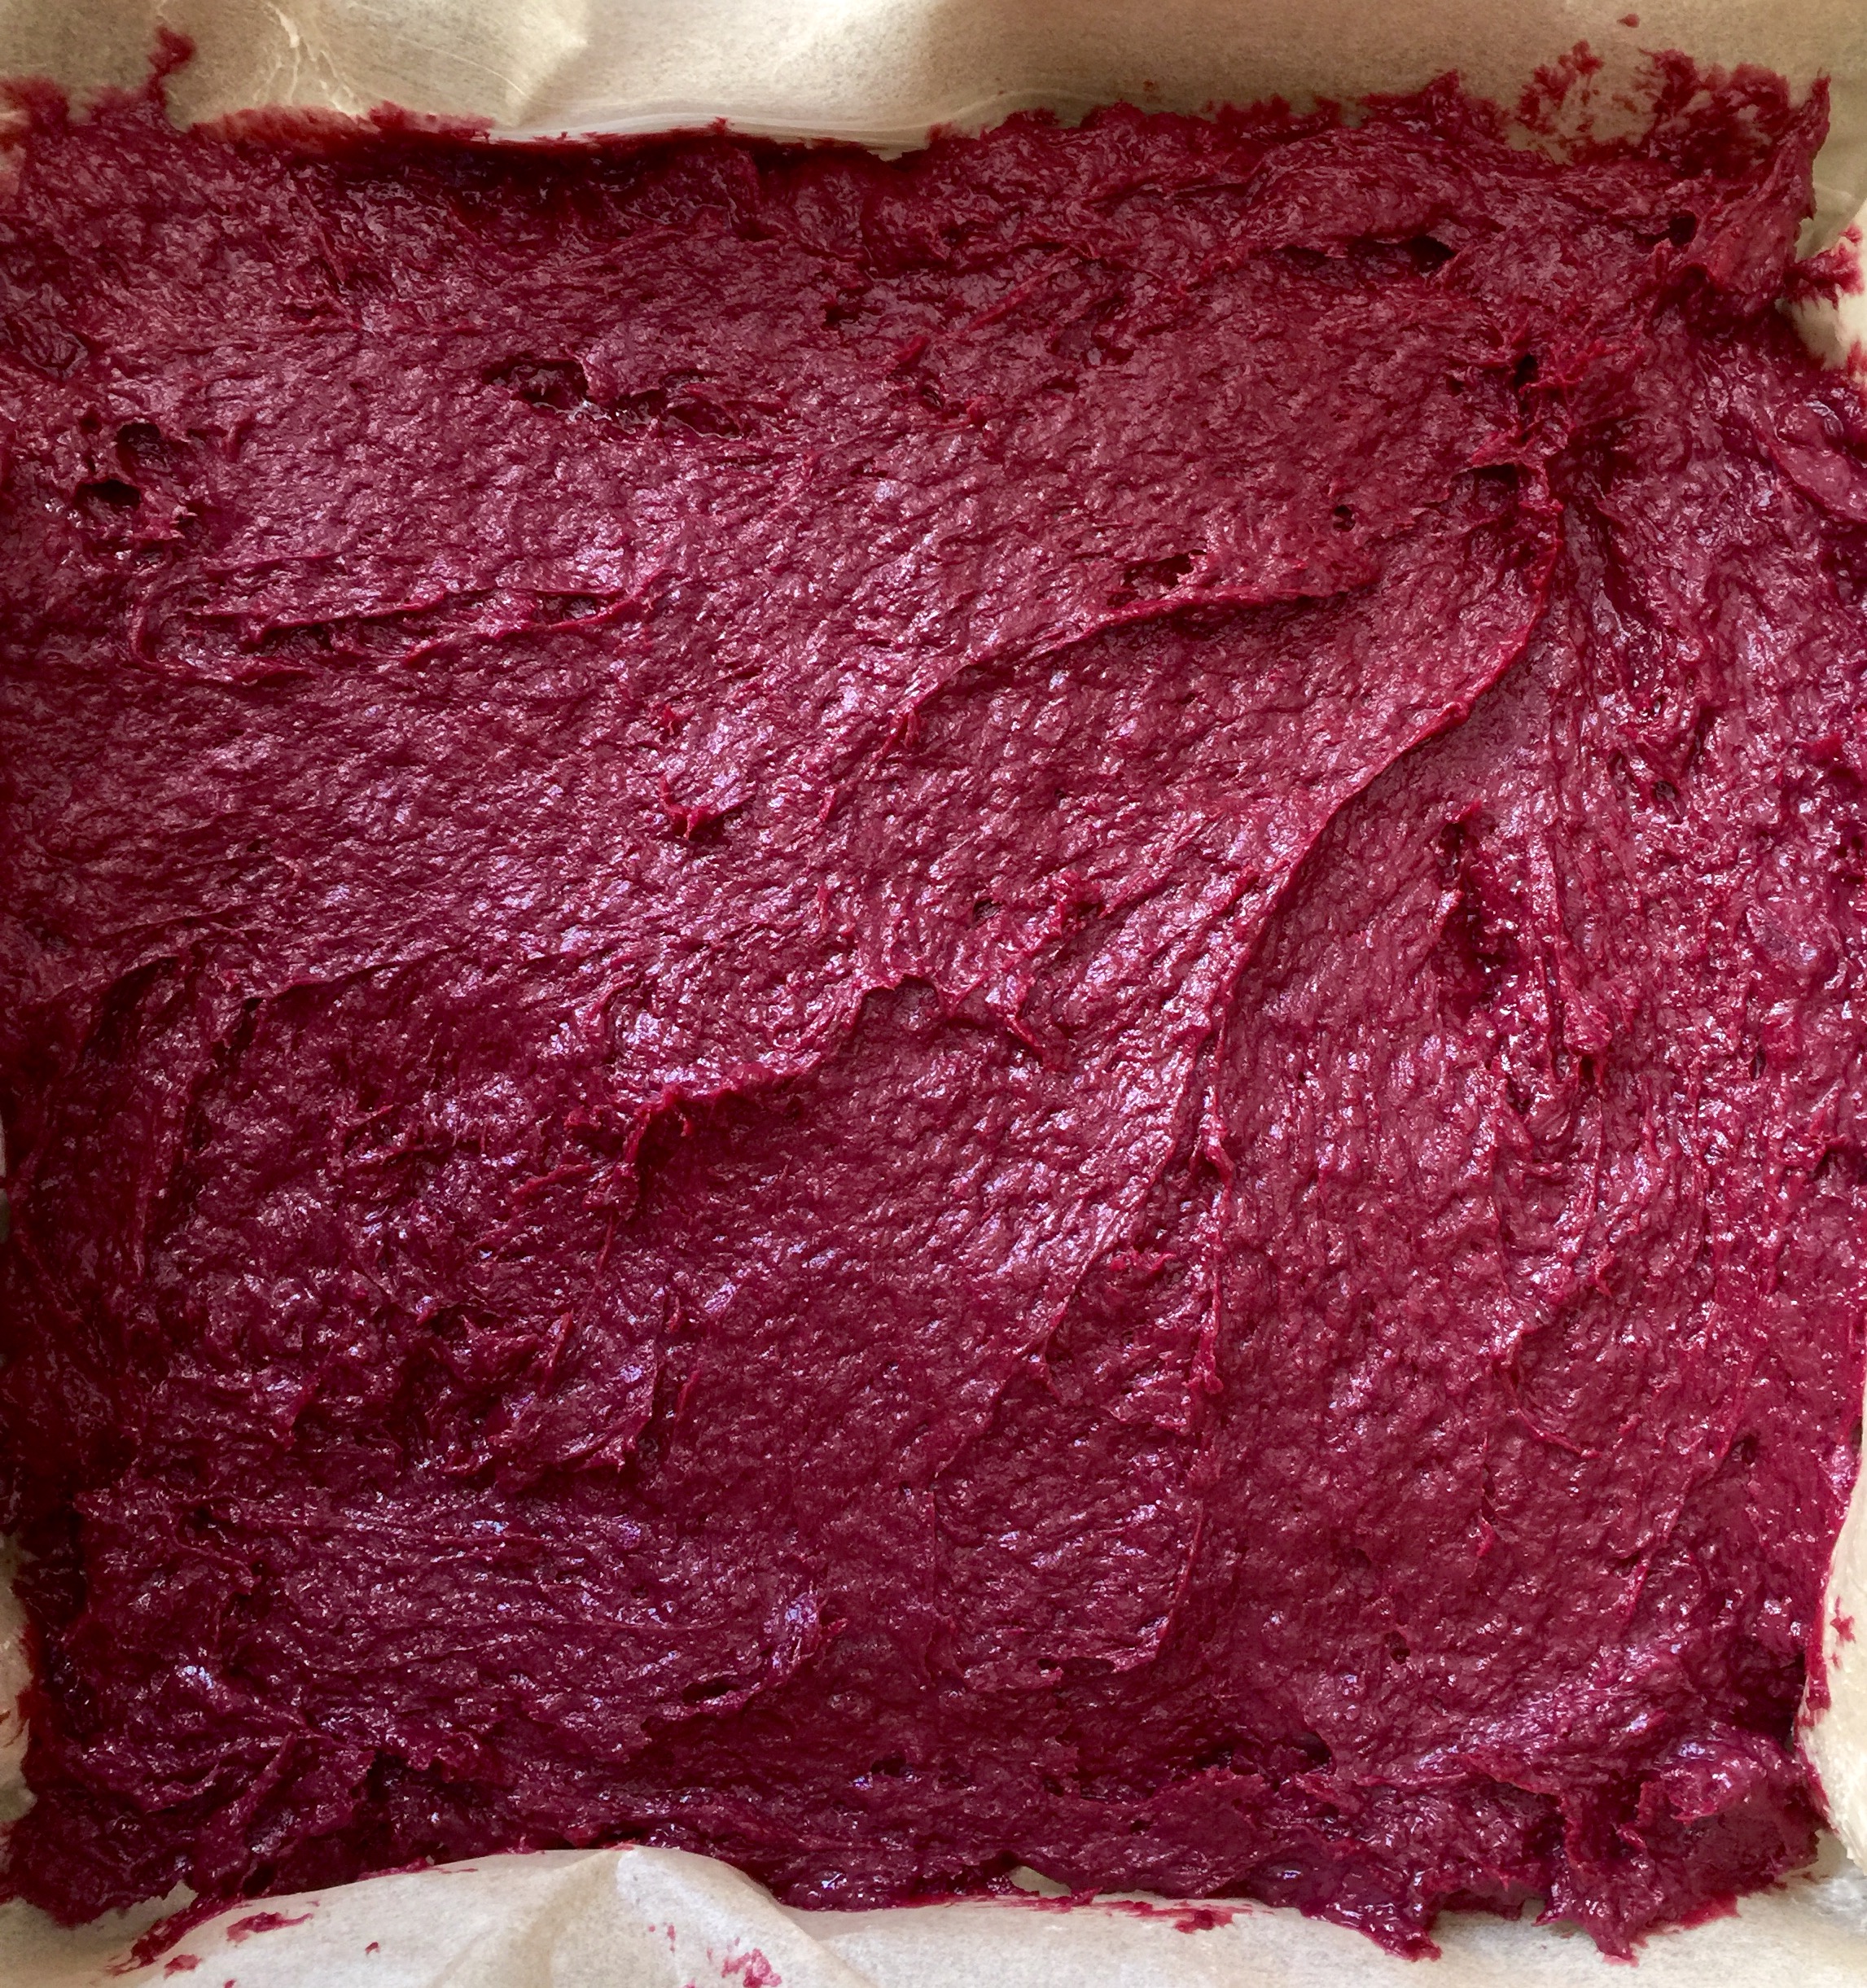
brownies about to go in the oven

baked brownies